
Last time I wrote about redecorating the study in our new house. I sort of claimed that this was finished at the point that we moved the desk in and it could function as a study. However, the truth of course is that a study is incomplete until the copious books can be unpacked onto shelves. In our rented house we had a few standalone bookshelves, but what is the point of owning a house if you don’t put up wall hung shelves?
Obviously it is fairly easy to buy shelf brackets and shelves and relative quick to install. However this needed to be more than just some shelves in stock sizes. My wife wanted a shelf spanning the entire back wall and coming around partially along another wall in a L shape. This pushes us into the real of custom made shelves specifically to fit an exact set of measurements.
The first decision was to go with a rail and bracket system. Last time I did wall hung shelves, I went with floor to ceiling, narrow shelves for dvds and small books, and I used individual brackets each mounted directly to the wall. 3 holes per bracket, I actually lost count of how many brackets, it was a lot. I vowed then that next time I’d just go with rails which can support brackets along their height.
So here are the rails installed and some brackets set in place

That part is fairly easy. we chose how far off the ground we wanted the lowest shelf, in this case dictated by the height of someone sitting on our futon which will eventually go in here (once the living room is redecorated) and then the length of each rail was dictated by how close to the ceiling we might want a top shelf.
Then you need to figure out the spacing, this is dictated by the material you intend to use for a shelf, different materials have different loading capacities and support requirements. If the supports are too far apart for the material you chose then they will sag, maybe not immediately, but with time.
Choice of materials is varied, last time I did this I used mdf, this time I decided to try something different and went with plywood. 18mm plywood has a maximum span between supports of about 60cm. I didn’t want to hit the maximum and I also wanted to have things evenly spaced across the wall.
Another factor was the L shape of the shelf, I wanted to have a support underneath the join point in the corner. My wife wanted the shelves to be 30cm deep, so I wanted a bracket around 20cm from the side wall. To make things look neat I put another at the same spacing from the opposite wall, then just divided the space between those two points into an even spacing that was less than 60cm.
The spacing on the other length actually had a slightly different considerations, where the end wall is an external brick wall, the side wall is internal and only a partition wall. For maximum strength I wanted to make sure I screwed into the studs, so I let that dictate the position of the rails. unsurprisingly the studs where similarly spaced to my requirements anyway, a little closer together.
With all that decided, it was time to measure the first rail into place, use a spirit level to get it vertical, and get it screwed in place. Once the first was up, every subsequent rail was measured relative to the previous one, getting the equivalent height using a spirit level from the base of the rail next to it.
This is important. You could mark out every rail based on the same height from the floor at each position, and achieve the same thing…right? well no, there is a very good chance the floor is not actually level over the span of the room. I could also have gone around marking out every position using my spirit level to match one marking to the next. However the thing about drilling into walls, is that things don’t always go absolutely perfectly where they should, maybe the drill wanders around a particularly hard bit, maybe you just don’t hold everything perfectly. In any case the actually fitted rail might be slightly off from the marked height, by measuring the next rail based on the actually fitted rail next to it, you constantly adapt for any slight variation. This does mean that you could wind up a little off over the span of the shelves, but never by very much in any given neighbouring pair, so everything should look ok in the end.

Hanging the rails is the easy part really, as now I needed to make shelves. My brother pointed out that it would be much much faster to just buy ready made shelves, but as I mentioned that is not going to fit exactly my space requirements. So I bought myself a few 2400×1200 sheets of 18mm plywood, and got cutting. My bandsaw is awesome, and 30cm is actually slightly deeper than it is really supposed to cut, however there is just enough room to setup a 30cm wide cut. So with help from my wife to position the sheets and support them through the cut, we quickly stripped out all the lengths we needed.
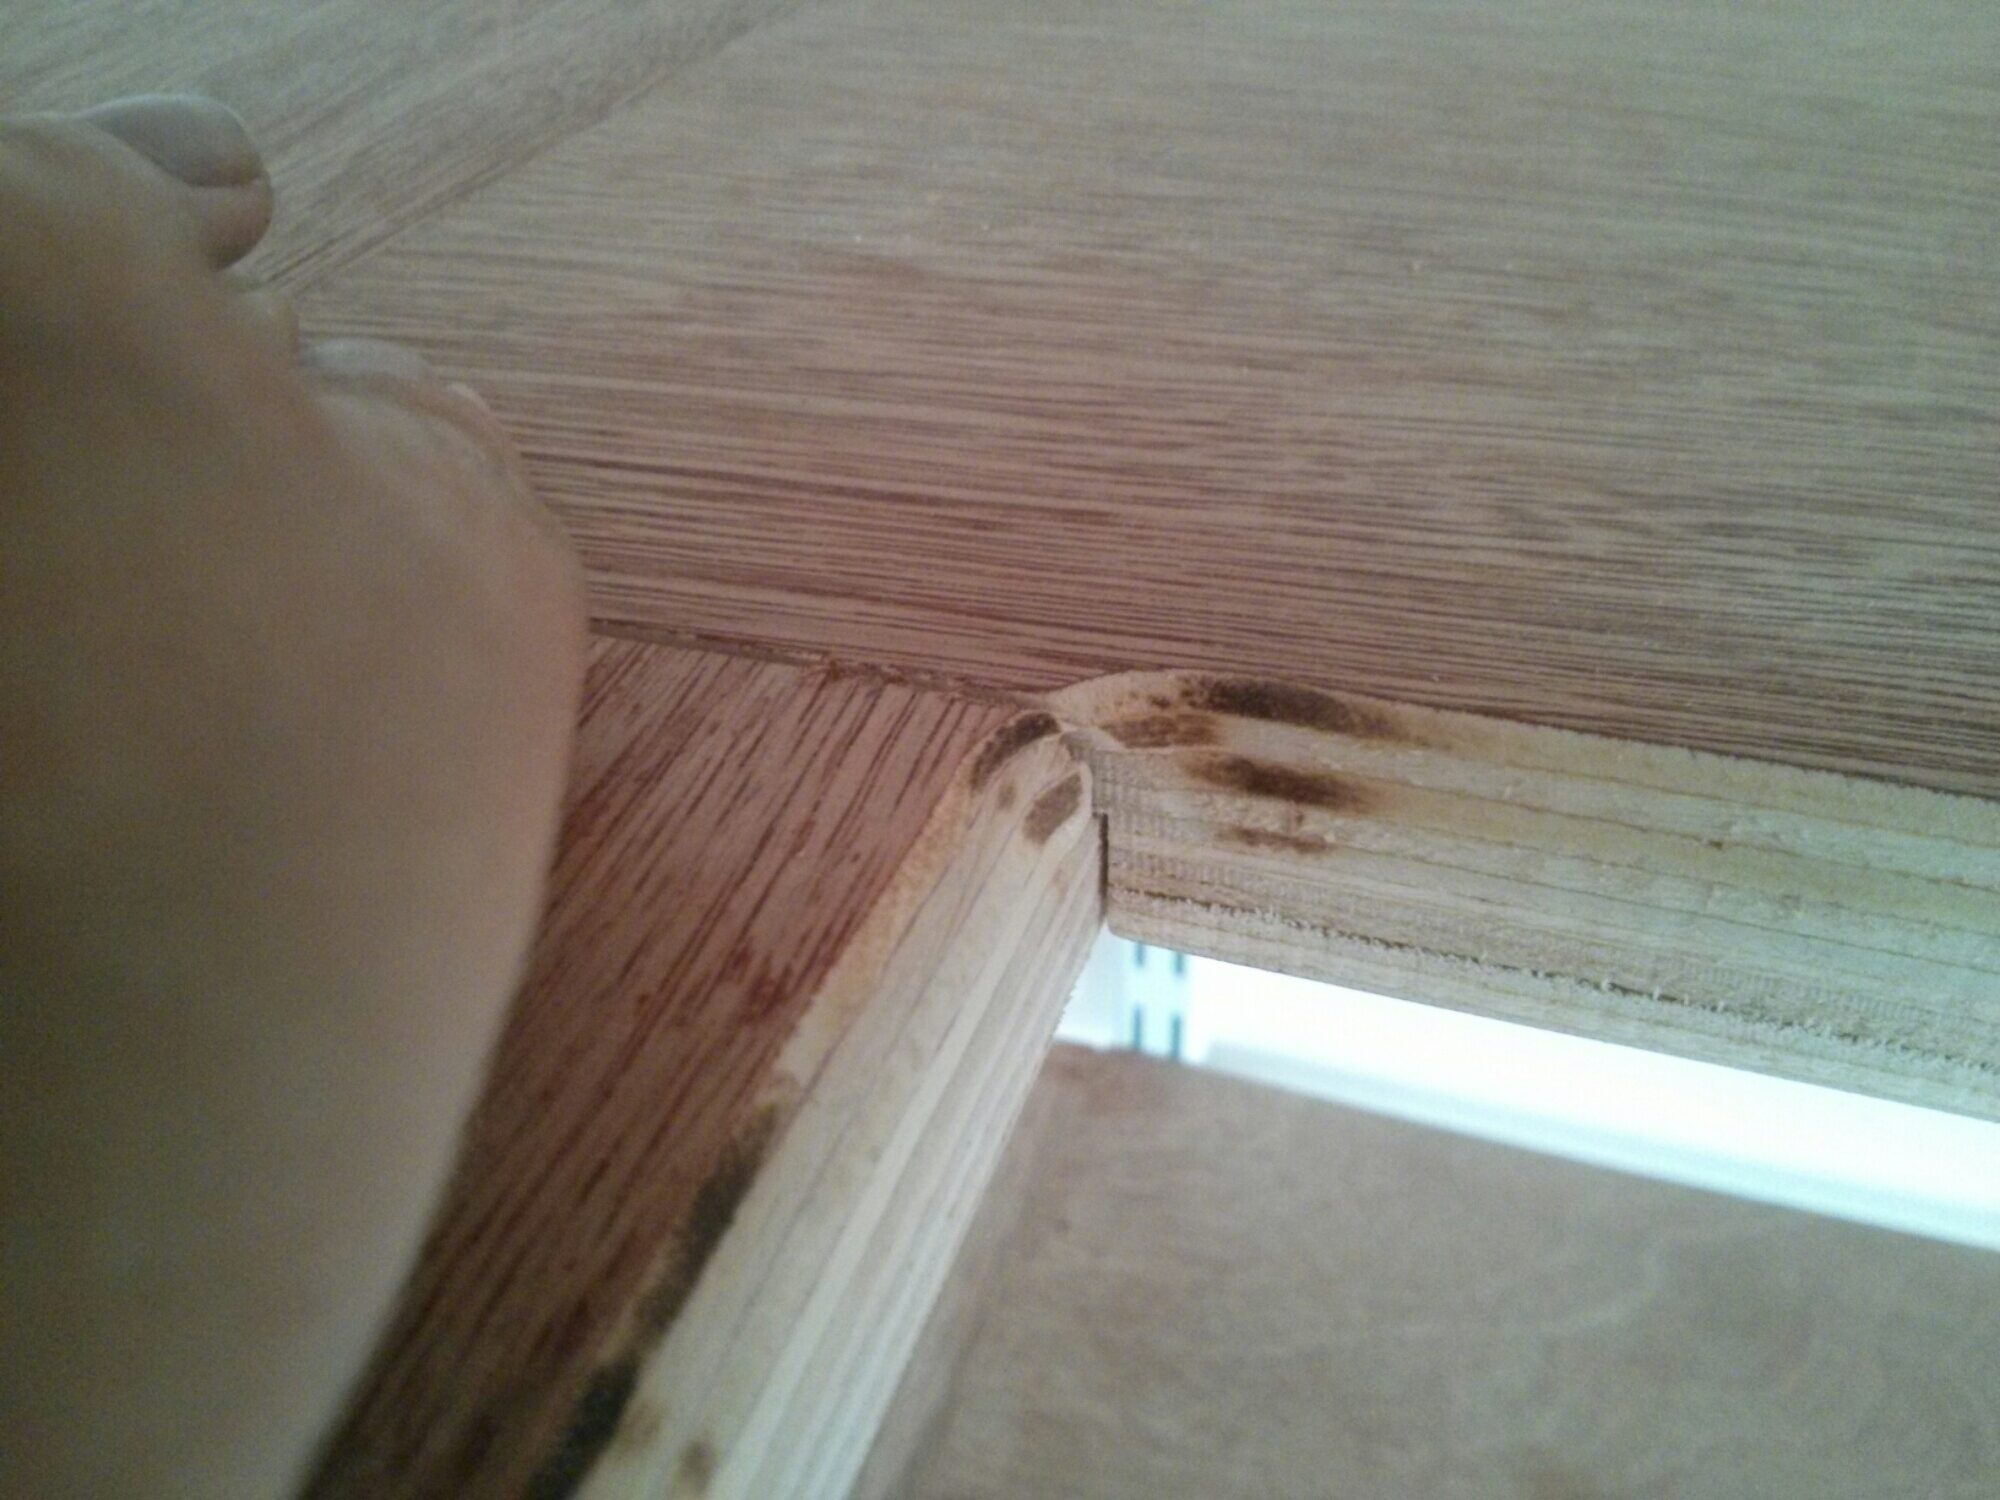
That was pretty straight forward, next though I had to use my router to cut away a section of overlap for where two shelves join at the L. Whilst this is not difficult, it is a little time consuming to set up a rail to work against to keep me routing in the correct area. By cutting this section of overlap, I could support that end of both shelf lengths on the same bracket.
Once that was done I then had to setup the shelves in their L shape in the garage so that I could round over the shelf edge and in particular around the inside corner where the shelves meet. This was not too bad, if a little precariously setup on anything I could grab to support the shelves. When repeated 4 time for each L shelf pair this all took a couple of days to work through. Though obviously I wasn’t exactly going at it full time.

At this point things look pretty good, all the shelves fit in place, and could almost be finished. If you didn’t mind the bare plywood look, you could load up the shelves and call it a day.
However, in my case the shelves were to be painted satinwood white. This means, at least one coat of primer, and at least one coat of satinwood. I got some nice stuff so that is all that was required, however it could easily have required multiple coats of each. Painting the shelves took perhaps 5-10 minutes per side per shelf per coat. The elapsed time of this effort is much higher than the spent time. You can only do one side of a shelf at once, allowing that coat to dry enough before you turn the shelf over to paint the other side. In the case of the satinwood coat, it has a drying time of 16 hours! With limited space to lay out shelves for painting I couldn’t do them all at once either. All in all a week or so of evenings and a couple of weekends was required to make my way through all the painting.
In addition I had issues with the supposedly furniture grade plywood from Wickes. Namely small voids in some of the layers. Good quality plywood is not supposed to have any. But this did, so along the cut edges there were little gaps and holes. Not too many, but enough that I needed to use some wood filler to fill them in. Sand it all down and paint over.


And finally they are done. Making your own shelves is a lot of work, it takes a long time. It is worth it. As with all such endeavours I get no small satisfaction from the knowledge that I built something essentially from scratch. That I know every mm of it, for better or worse, from my own attempt to make it as well as I can. Plus of course it is exactly to specification. My wife got to pick exactly how deep she wanted the shelves, precisely where on the wall they should finish, what kind of radius on the end corner, how chamfered to make the edges, how high and how far apart.

And finally, the study looks the part with full shelves 🙂
Did you like this project? Hit like to let me know!
Do you want to try a project like this and need to buy the supplies?