
Picture frames are easy enough to come by, but why settle for something which is close to what you want, when you can make something which is exactly right for your home. This is a relatively easy project, but can have a major impact because you get something which fits exactly into the space you have.

Background
In this case we had a section of wall about the stairs which we thought would suit a large picture.
As it happens we bought this house from the original owners, and they still had the blueprints which they very kindly left for us. It’s a very nice artefact to have the original blueprints.
These two things led to an inevitable conclusion…We would hang the blueprint in the wall space we had. However, this was also an opportunity to customise things a little and make everything fit perfectly. We scanned the blueprints into a computer, which gave us the opportunity to clean them up a little in a photo editor. Then we had the cleaned up image printed to the size we wanted, just a little bigger than the original, but perfect for our space.
Then we just needed a frame….
Tools
- Tenon saw
- Marking gauge
- morticing chisel
- mallet
- Router
Materials
- Hard wood – we got some meranti off cuts from a local wood yard (£5)
- hardboard – for the backing (£5)
- acrylic/glass – we went with a plastic front, its a large sheet and will be hanging over the stairs. (£25)
- hanging hardware – we went with d-rings (had some from previous project)
- Clear varnish (had some in the workshop already)
Method
There are lots of ways to make a frame, possibly the simplest being to cut 45 degree mitres and glue them up. However that is not that much fun from a woodwork perspective. We decided we wanted to practice some mortice and tenon joins, and this also forms a nice strong joint. In truth making mortince and tenon joints this small (ours were about 6mm wide by 10mm long and 15mm deep) was a little fiddly. Much easier to make big chunky furniture. However, that makes for part of the challenge!
Time
Our took a little longer than necessary because we were filming it, as you can check out our youtube channel. However it probably took about 2 hours to cut the frame, router the rebates and make all the mortice and tenons. Then a few scattered 5-10 minute sessions of glueing and clamping the frame, then varnishing a couple of coats, attaching the hanging hardware, and finally fitting the acrylic, picture & backboard.
Elapsed time of 2 days, but actual attention time <3 hours.
Steps
First we cut 2 horizontal lengths and 2 vertical lengths. Remember to allow length for the tenons on either end of the horizontal pieces!
With all our pieces cut to length we then routed the rebate for the glass/hardboard etc. We could have done this after assembling hte frame, but it seemed easier to do it now when you could easily clamp each piece. That said, we also messed up a couple of times… We forgot that for the vertical pieces the ends should not have a rebate, as this sections are where the mortices will go. After routing all the way along one of the vertical pieces we realised our mistake. Then when we cut a new piece and carefully avoided routing one end, we got carried away when routing the other end and partially went over it again. Oops. Never mind, we carried on regardless and fixed it later 😉
We chiselled out all the mortices first, it is slightly easy to adjust and tweak the tenons to fit than it is to tweak the mortice slot. Then cut all the tenons. Before we started we have already decided which piece was going to be top/bottom/left and right on the frame. that way we always checked tenon against the specific mortice that it would mind up mating with. If you’re perfectly consistent it shouldn’t matter as they will all be the same. But we are not that consistent.
With everything cut and chiselled we checked he dry fit, then set about gluing each tenon and clamping the frame up.
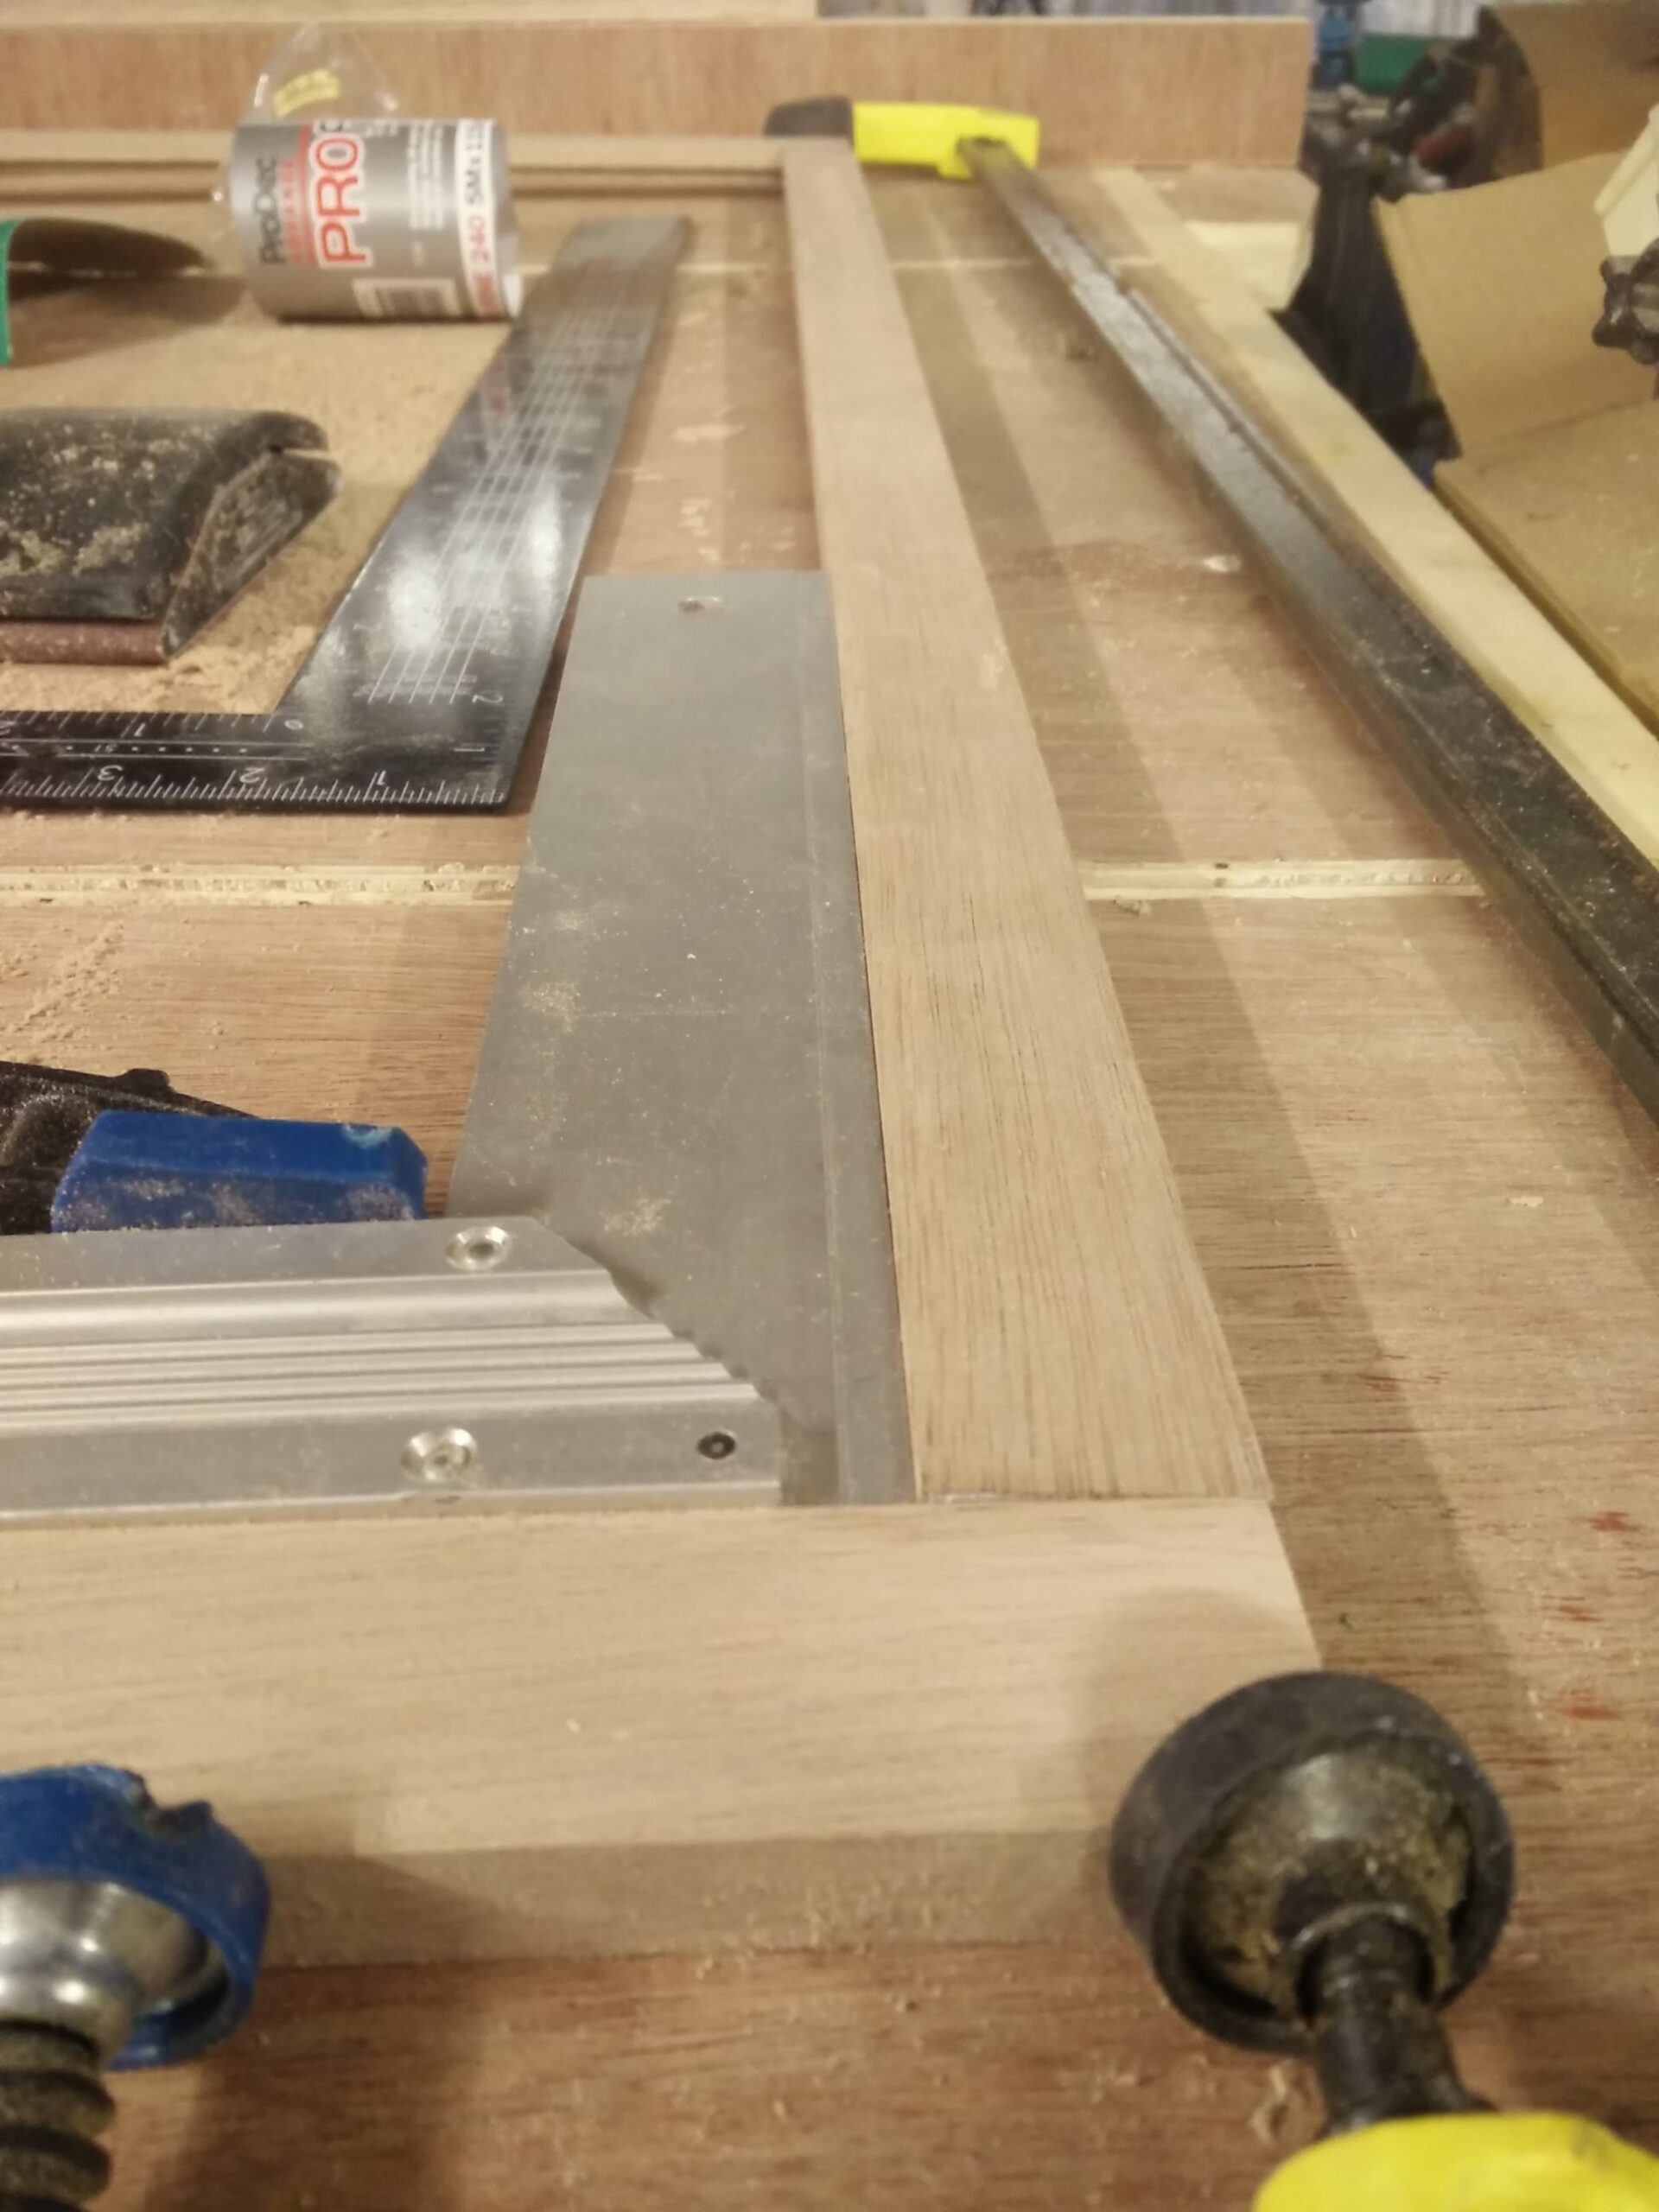
Notice here that we also clamped a set square into opposite corners to pull the frame square whilst the glue dried.
Once the glue had set we measured up the exact width/height within the rebate area so that we could cut our piece of hardboard to size. We were actually fairly lucky, the custom size we chose to make happened to make the height exactly right for a small sheet of hardboard. Any bigger and we would have needed to get the next size up and probably have a lot left over. Whilst making something to your custom needs is great, it is also worth considering the implications in terms of material use. If 10mm here or there is going to make the different between a 600×900 sheet or a 1200×900 sheet, you certainly want to know that you really care about that extra 10mm 😉
With this size now fixed, we also ordered some acylic sheet custom cut to size. There was nowhere near me available at a weekend to buy the kind of sheet I needed, so I just ordered on line. This was the most expensive piece of the project by far.
Whilst waiting for the acrylic to arrive I had time to varnish the frame with a couple of coats of clear satin varnish. And to fit the d-rings. As it happens the space we are using already has 2 sturdy hooks from the previous owners own hanging, so it was simplest to set our d-rings in line with those.

Finally the acrylic arrived and we could lay it in our frame, with the picture and backed by hardboard. This just left us the job of holding the layers in place in the frame. As the sandwiched layers came about flush with the back of the frame pieces (because we set our rebate depth based on the thickness of acyrlic+hardboard) we just made a few simple latches that could be held in place around hte frame with panel pins and swung into place to grip the hardboard in place.

And finally, hanging in pride of place, completely filling the space. Now we just need to redecorate the hallway!

Summary
This is a weekend project which can make a great addition to the home, having a picture customised and just right in the perfect space makes for a little extra wow-factor. Plus you get to have fun in the workshop
You can also watch the build process for this frame on the maker geek YouTube channel :