When redecorating, it’s those little details that can really tie a room together and help you achieve a unified look with very little outlay.
These coasters take only minutes to make and use inexpensive materials: cardboard and leftover fabric from cushions or furnishings.
What do you need?

D helping
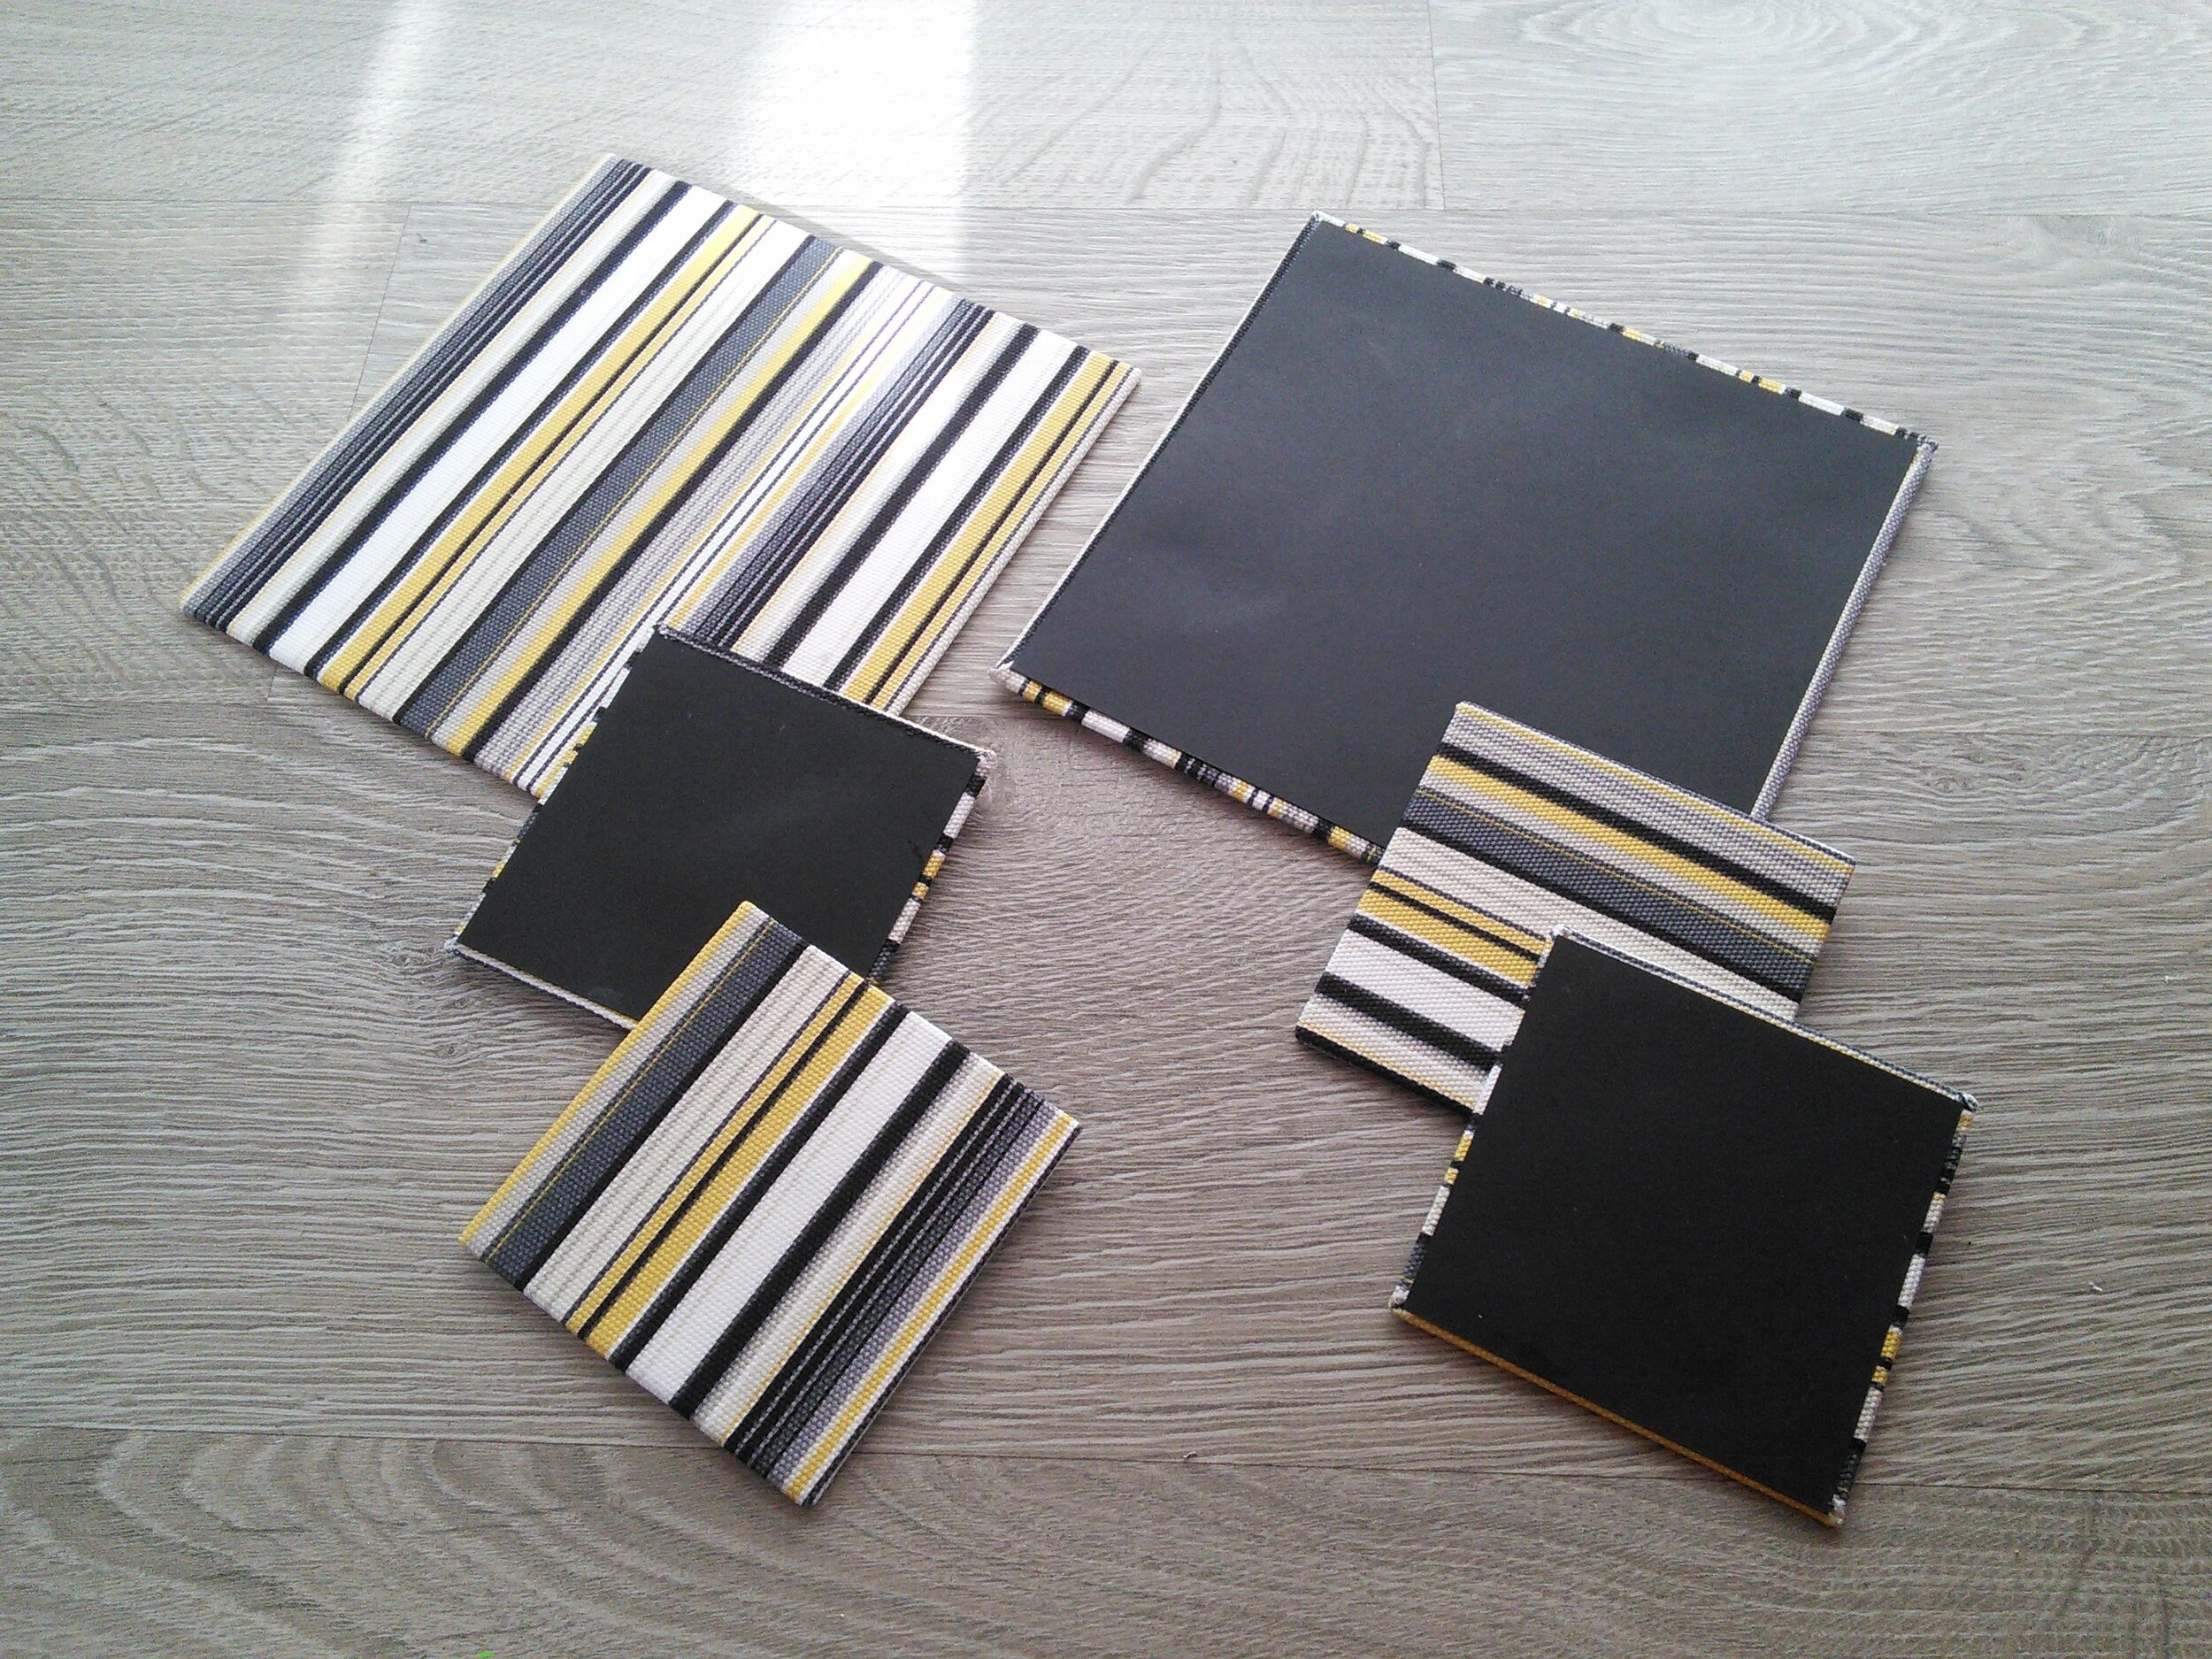
- A fabric that coordinates with your room. (I had quite a lot of stripy yellow fabric left over from making cushions) You need 5.75 inches square per coaster.
- Mountboard or another very stiff cardboard. 4inches square per coaster.
- Coloured card of heavy paper to match the fabric. Just under 4 inches square per coaster.
- Multipurpose glue for sticking fabric to the card
- Shears to cut the fabric
- Cutting board, metal ruler and craft knife to cut the cardboard
Step 1: Cut your mountboard
The mountboard provides the stiffness and shape of the coasters. For drinks coasters, cut the mountboard into 4 inch squares.

The colour of the mountboard is unimportant as it will be completely covered by fabric. However, I discovered that the dye in this dark card had a tendency to come off when the glue was applied. Not enough to be a problem, but enough for me to recommend using a light coloured card as your core.
You can see that I also made a couple of larger mats – big enough for a teapot or a hot dish of nachos. Mine were 7.5 inches, but you can go with whatever feels right.
Step 2: Cut your fabric
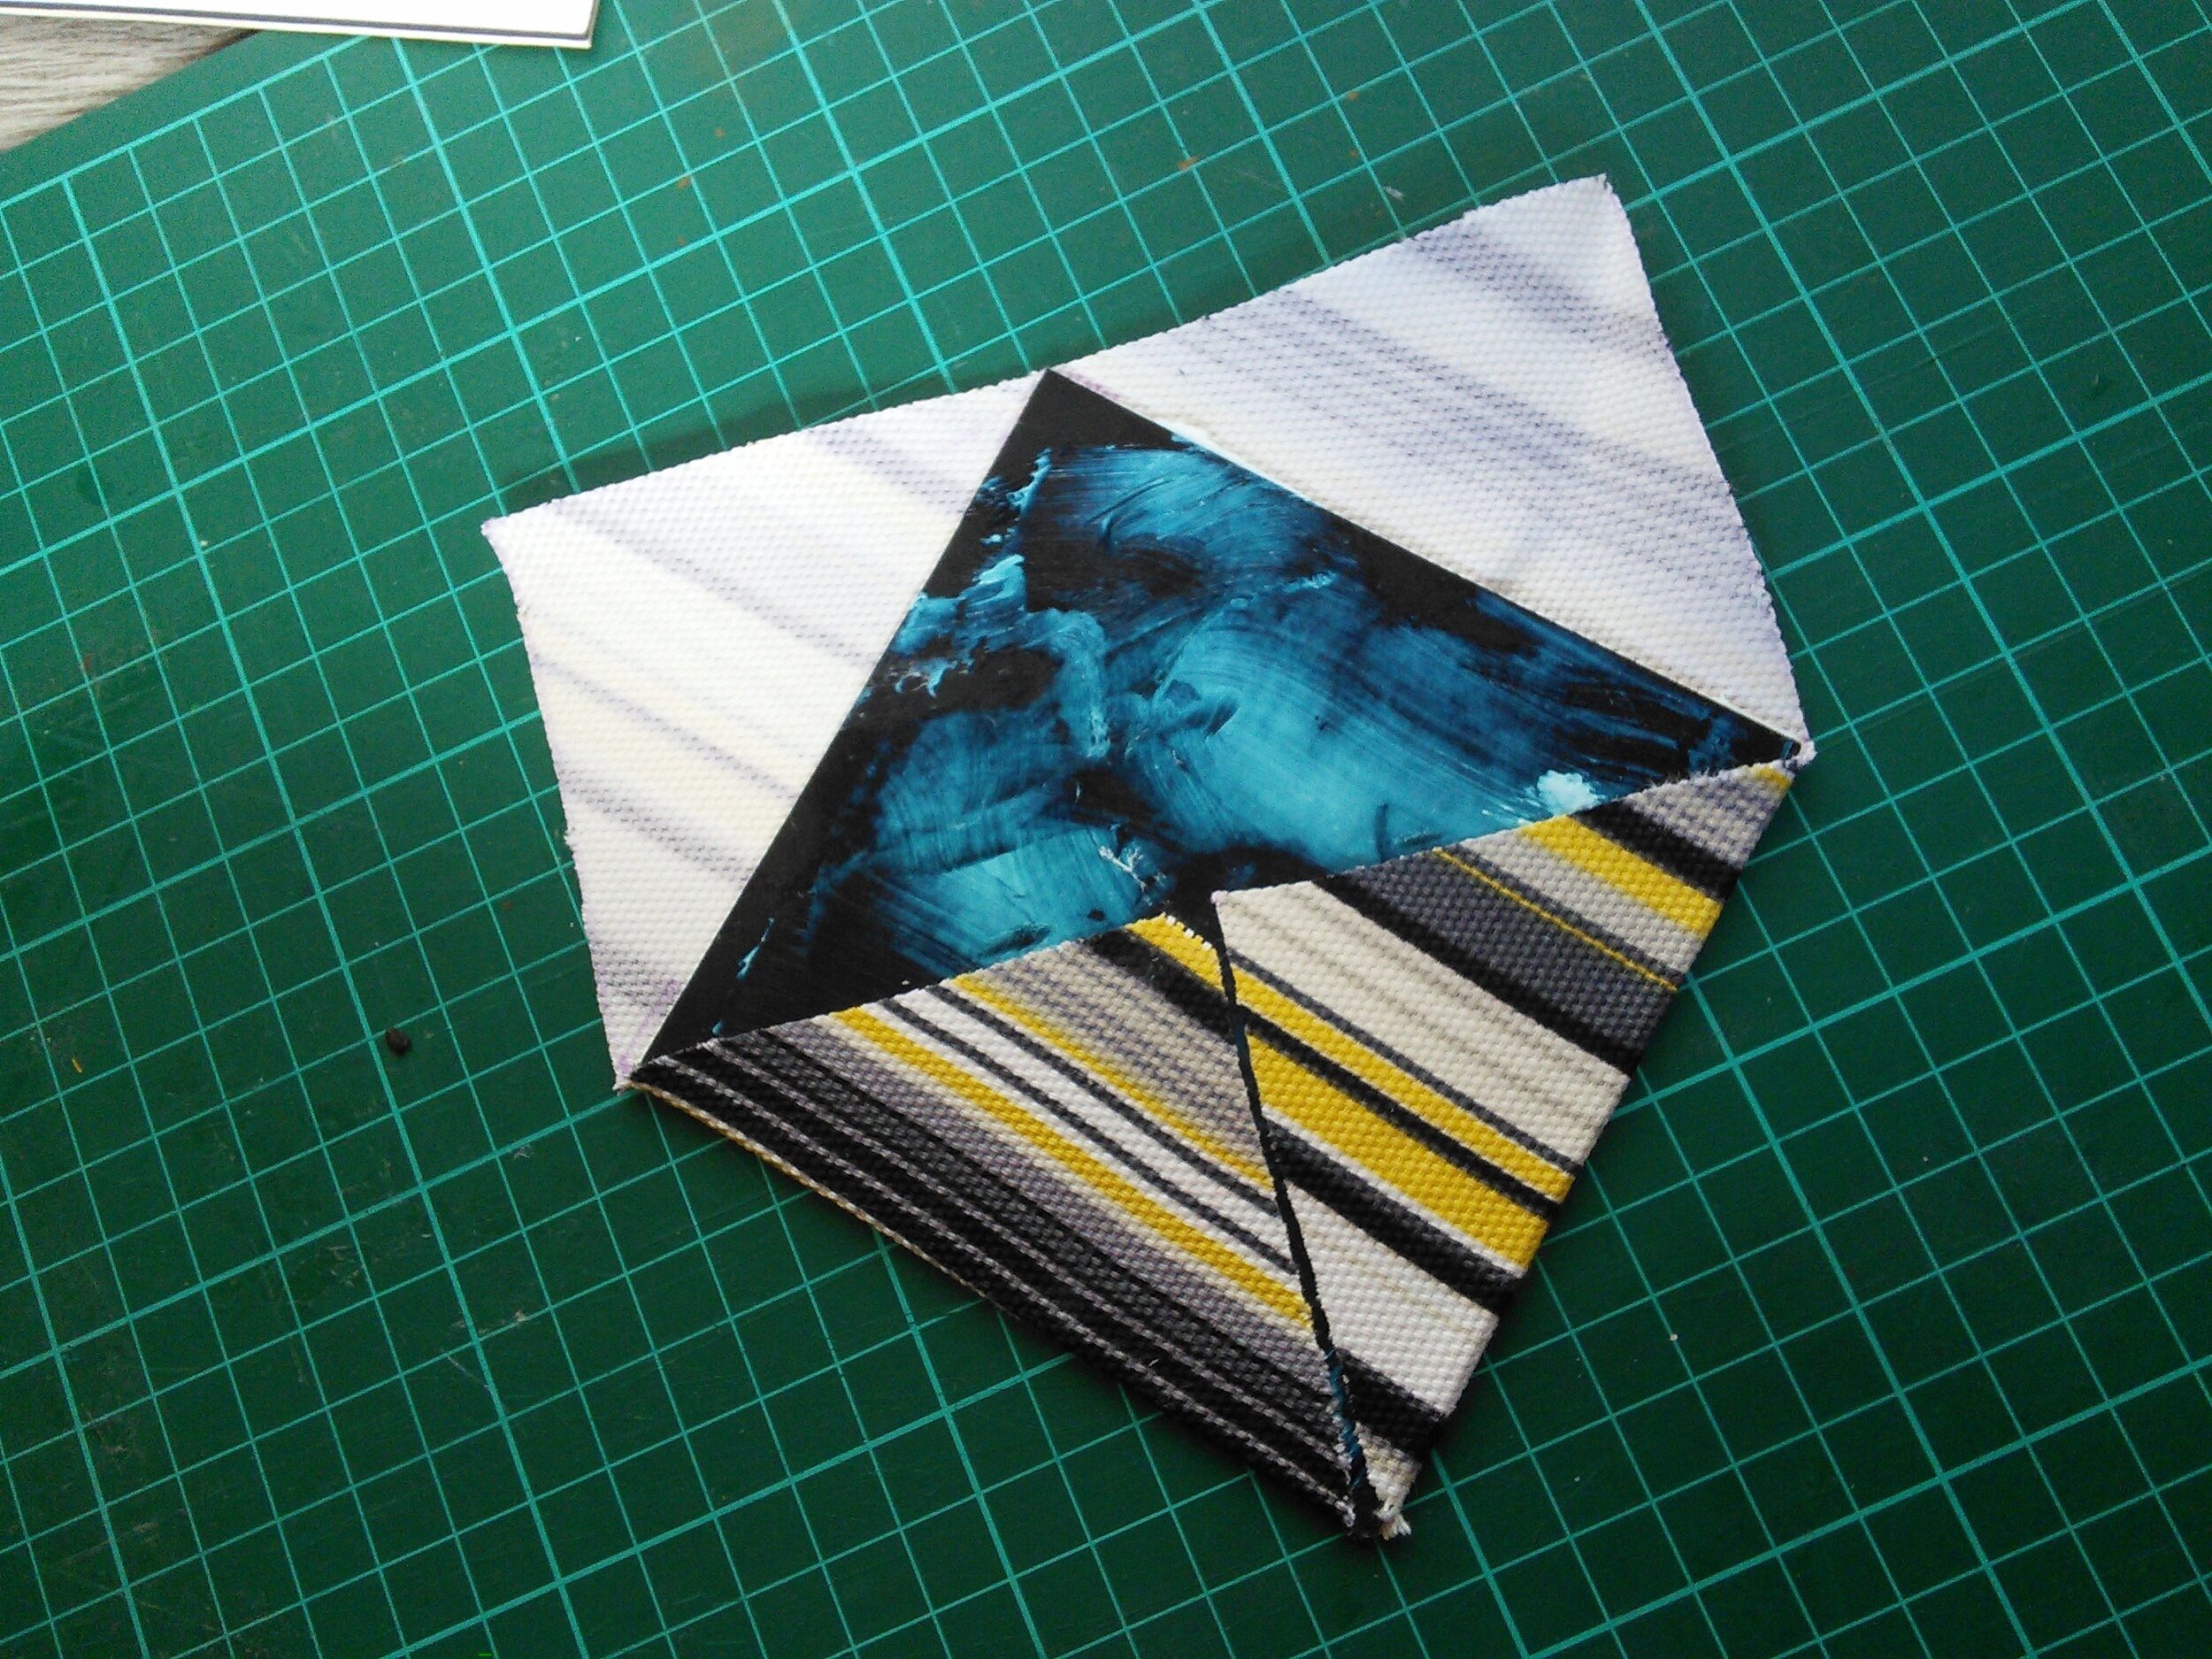
The fabric squares for the drinks coasters are 5.75 inches square. To figure out how big the squares are for coasters of a different size, you can either bring in a little Pythagoras or do as I did and use the mountboard as a template with a 45 degree set square to add the additional fabric flaps that will be bent around the board. (See the photo).

Stripy fabric sure made lining the mountboard edge up with the grain of the fabric easy.
For the Pythagoras method:
- Multiply the size of the coaster by itself (4 x 4 = 16)
- Divide it by two (16/2 = 8)
- Take the square root ( √8 = 2.828)
- Times that square root by 2 (2.828 x 2 = 5.657)
- I added a little bit extra to get to 5.75 both to make it an easy size to measure and to give a little extra leeway when wrapping around the thick mountboard.
When cutting the fabric bear in mind that the pattern must run diagonally across the fabric to run parallel to the edge of the coaster.
Step 3: Cut the backing cardboard
Cut these squares slightly smaller than the coaster. They will cover the edges of the fabric, but not show past the edges of the coaster.
Step 4: Stick the mountboard to the fabric
Spread the glue on the mountboard. I used a leftover offcut of mountboard as a spreader. You want a thin and tacky layer all over. Place the mountboard, glue down, in the centre of the fabric and press it down firmly. Spread another layer of glue on the upper side of the mountboard. When is is tacky, fold the corners around the mountboard and press down.
If there’s overlap between the edges of the fabric when it’s folded over you can cut this away with the craft knife. Removing the overlap ensures that the coaster, and by extension your glass of wine, doesn’t tilt.
There might be some stray threads at the corners. Use a small drop of glue on a fingertip to press them in and tidy them up.
Step 5: Cover the back with thin card
You’ll be using the thin card to cover up the fabric edges.
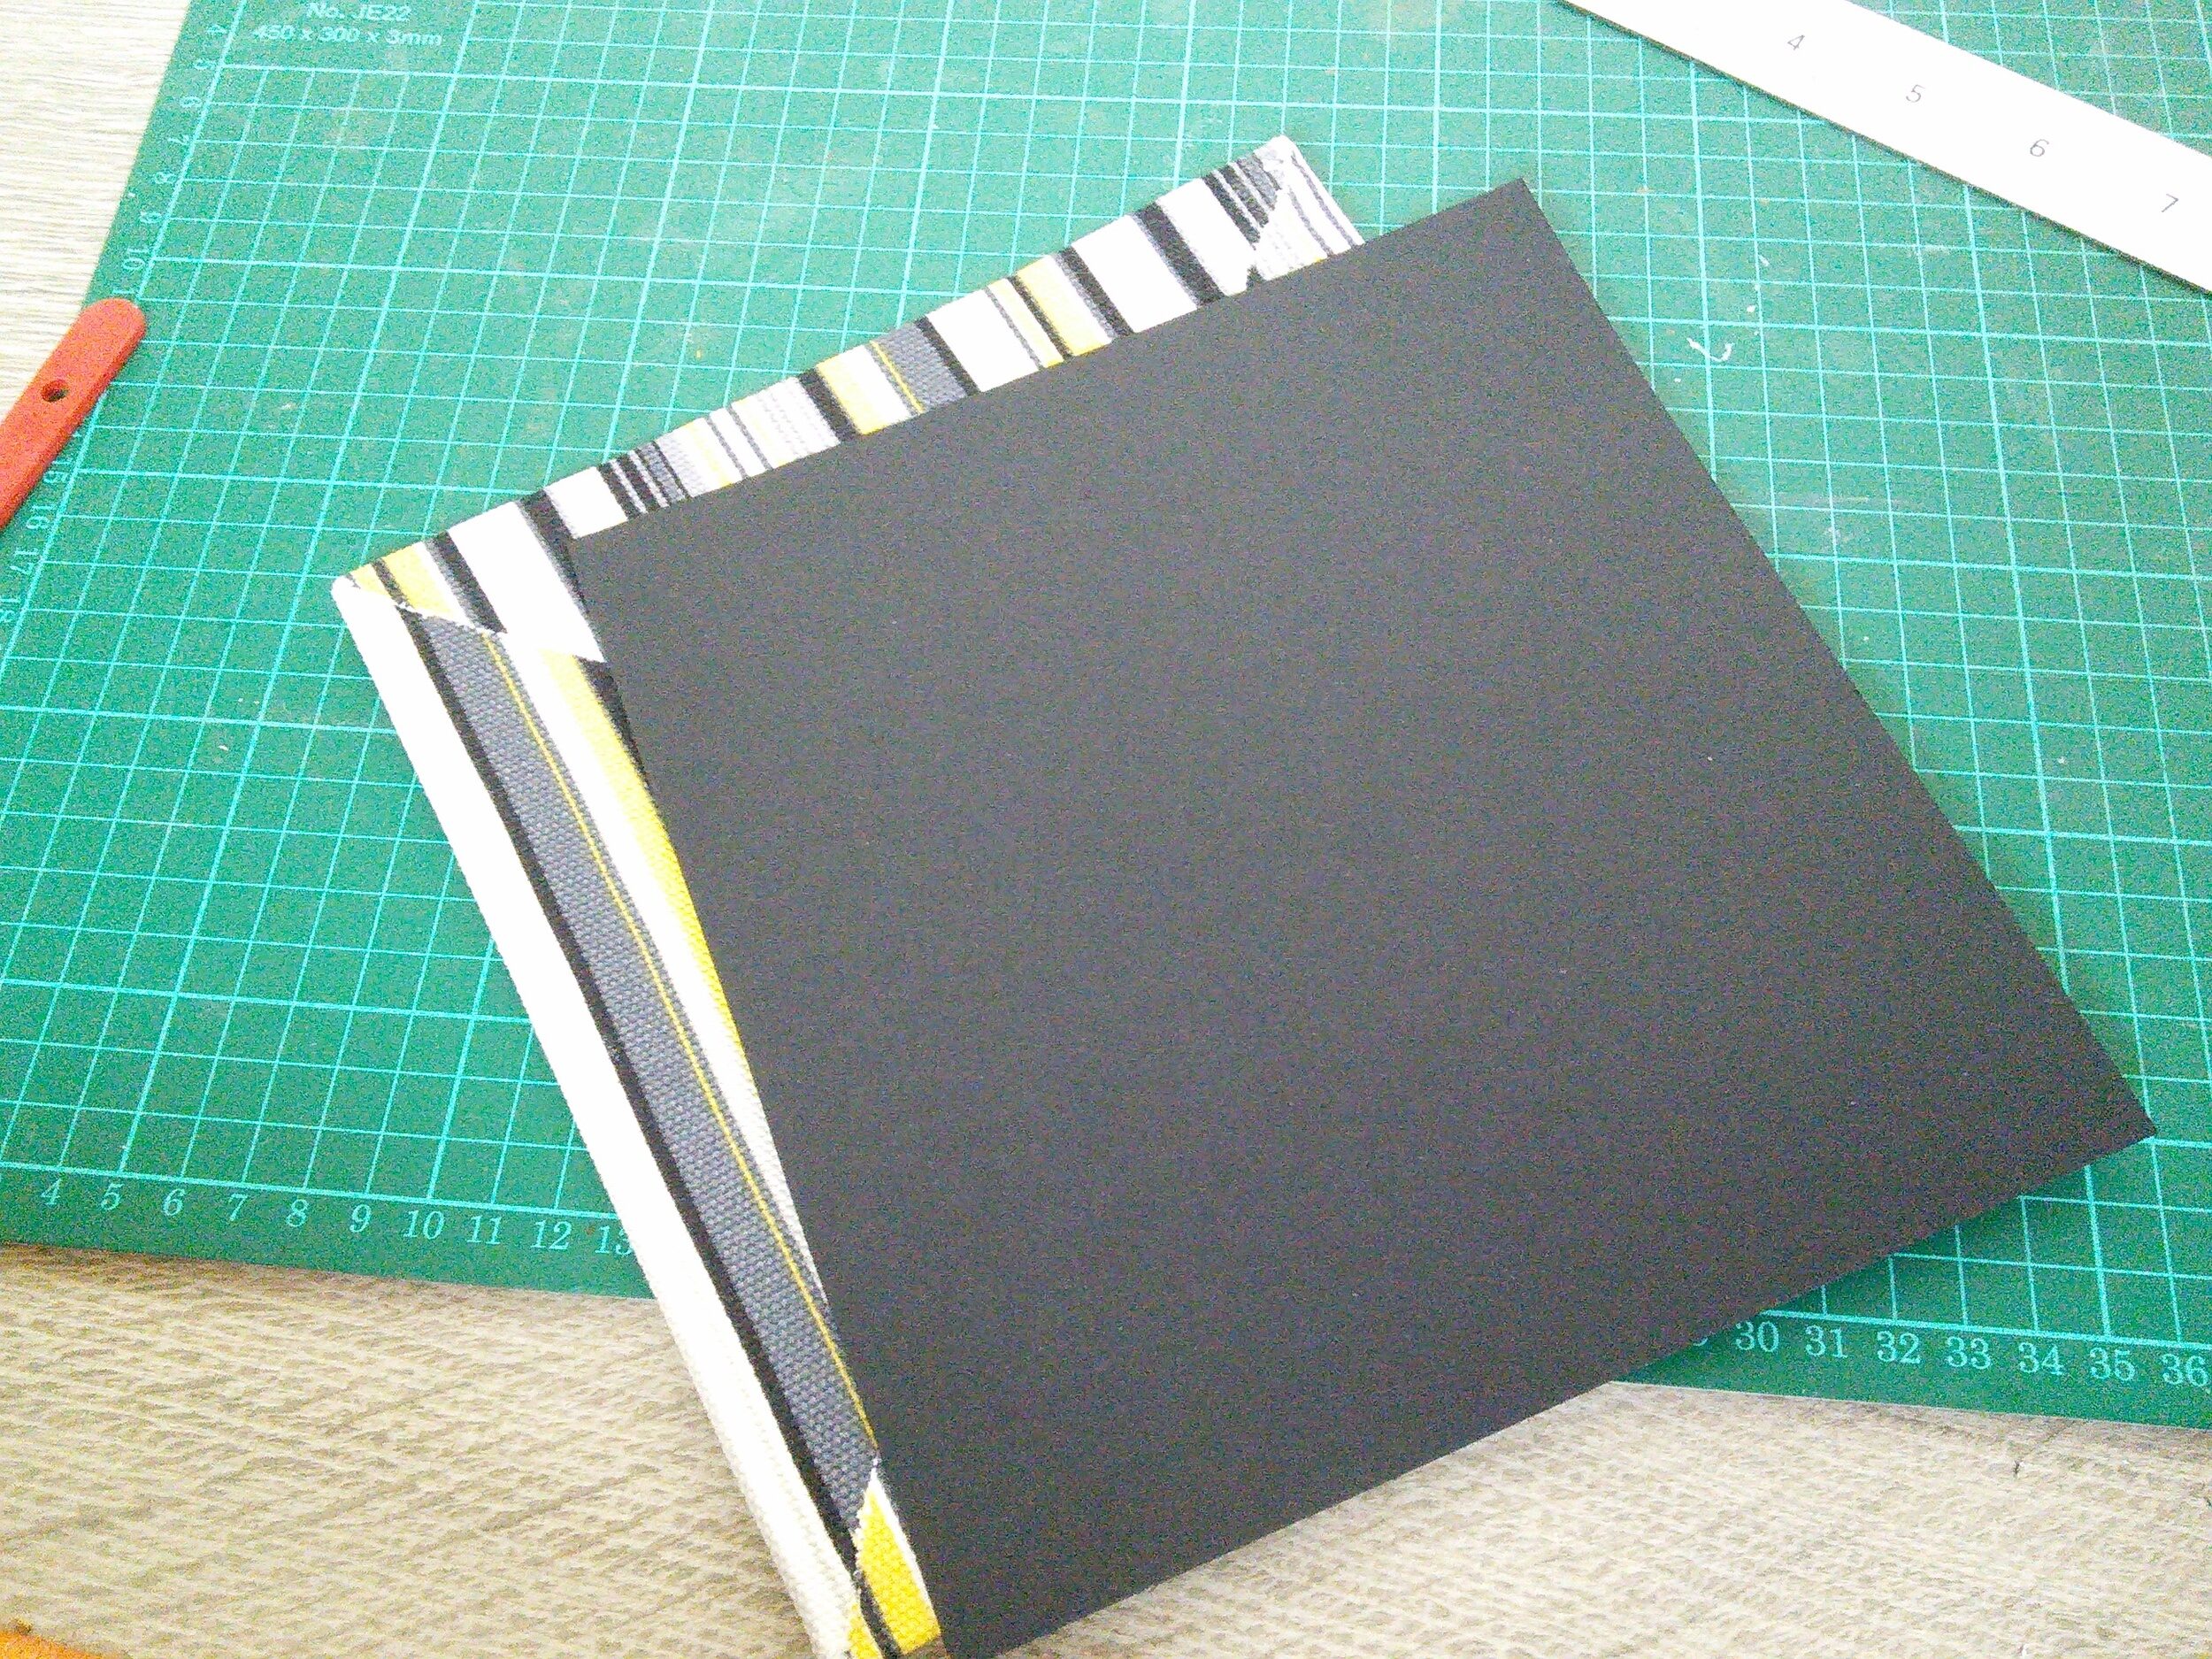
Spread another thin and tacky layer of glue onto the card. Line it up in the centre of the back of the coaster and press it down.
Step 6: Press overnight
Give the coasters an overnight pressing under some heavy books to ensure both that the glue is dried and that the coasters are flat before using them.
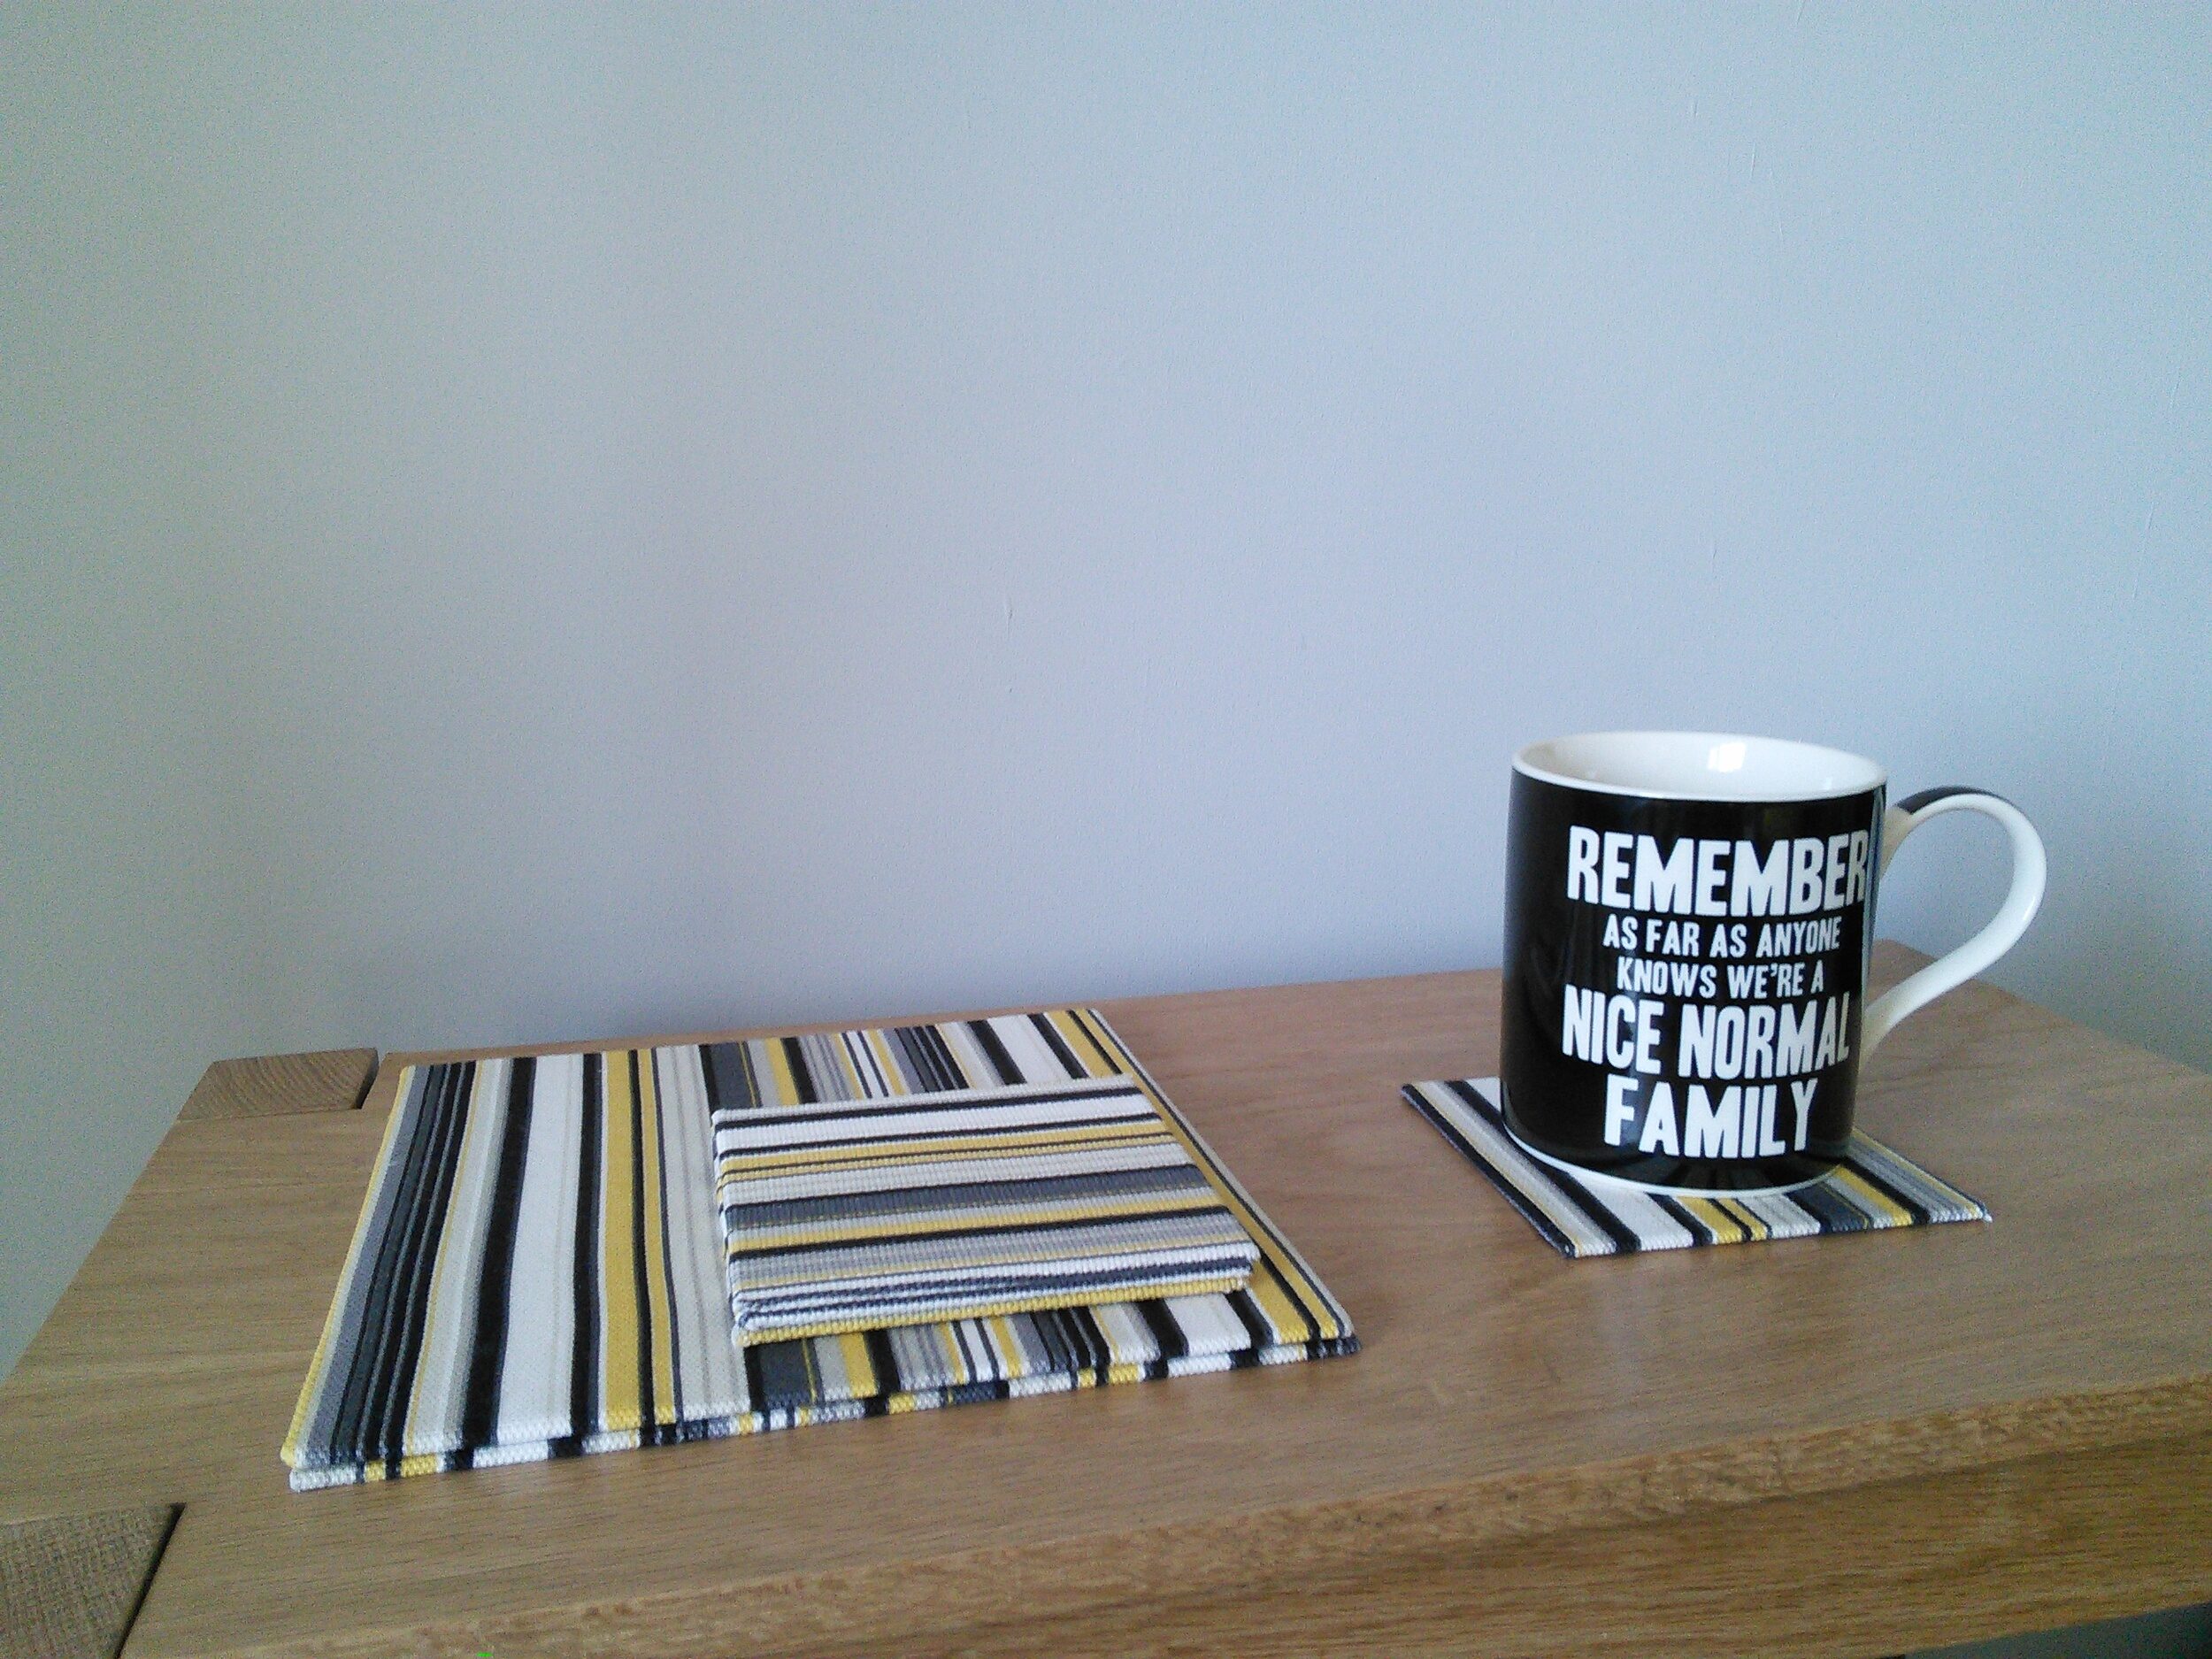
Done
Some quick coasters from just fabric and card.
They’ll buckle if you wash them or spill too much wine on them, but can stand a certain amount of dampness and can be sponged to remove light soiling. If they get too bendy after a sponging, put them back under the heavy books to straighten them out.