
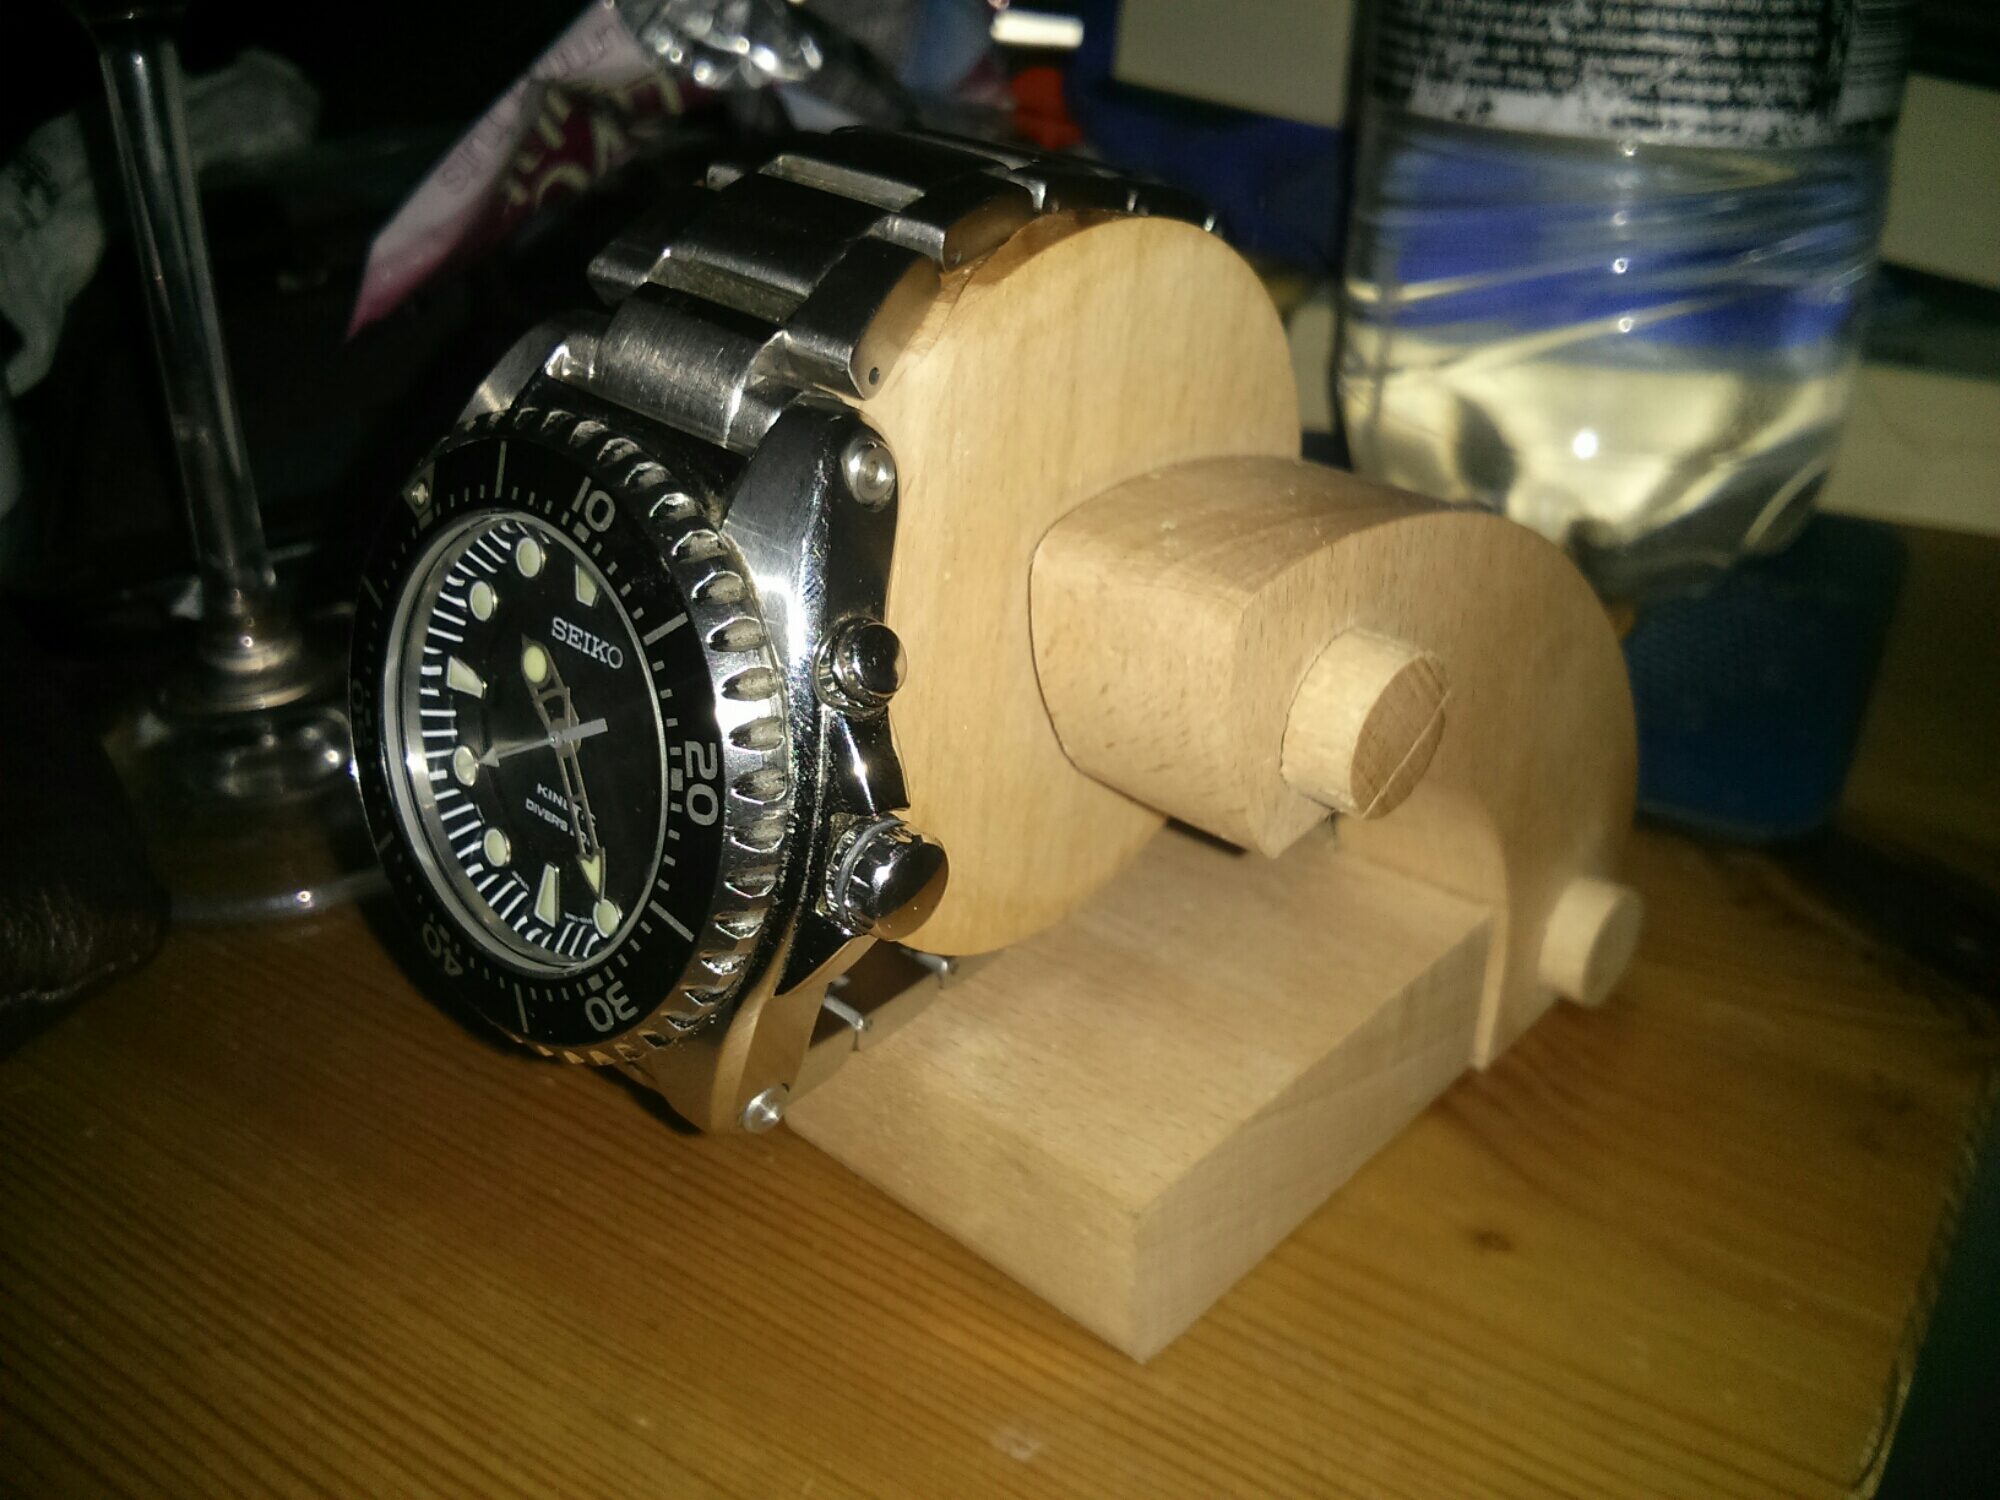
I am often taking photos of projects that I’ve made, be it projects on my CNC router, or hand made using other more every day tools. Mostly the purpose of the photos is to use here on this blog or other places where I share progress etc. Something I’ve noticed more and more is that the quality of photos is pretty variable for me, and other makers do a really nice job of taking great photos of their projects. Recently I was taking pictures of a little wooden watch stand I made for my bedside cabinet, and only noticed after posting that a couple of the images were a little blurry and generally the images are a bit meh.

I feel like I’ve been at this blogging game long enough to feel I should have a better setup for taking photos/video of what I’m doing so I decided it was time to take action.
From doing a little reading the two basic tools I should have to take nicer photos of my creations are a tripod for my camera of choice and a light box to allow diffuse lighting of the subject.
Now it should be noted that the photo’s in this blog post mostly don’t benefit from either of these since I’m taking pictures of them, not with them.
The theory of the two items is pretty simple. a Tripod holds the camera steady, no more trying to brace my arms against something, in an attempt to keep things steady. A light box allows for good lighting of the subject but without hard direct light casting shadows all over the place.
The first thing I started with was a tri-pod. Now I could have made life easy for myself and bought one, or even just used my wife’s. However there is one point I’m being stubborn about. I take pictures with my phone. It is not the greatest camera in the world in terms of quality. However it is the camera that I always have with me, and always make sure is charged. It is also the camera that automatically backs up my photos to the cloud (in this case google+) and make it easy to share them. And even do some amount of editing on the phone.
This is important to me, since I don’t have to mess around with downloading pictures from a camera to my laptop, then uploading from my laptop to somewhere.
However this does make life awkward. a normal camera would just have a screw thread already in it for a tripod. But with my phone I had to devise a holder for it that would hold it firmly but also make it easy to get the phone in and out.
I *could* have just made a mount and have it attach to a standard tripod. However it turns out that standard tripods use an imperial thread, and its not so easy for me to pick up anything that isn’t a standard metric thread. So I decided that I’d just make the whole thing…
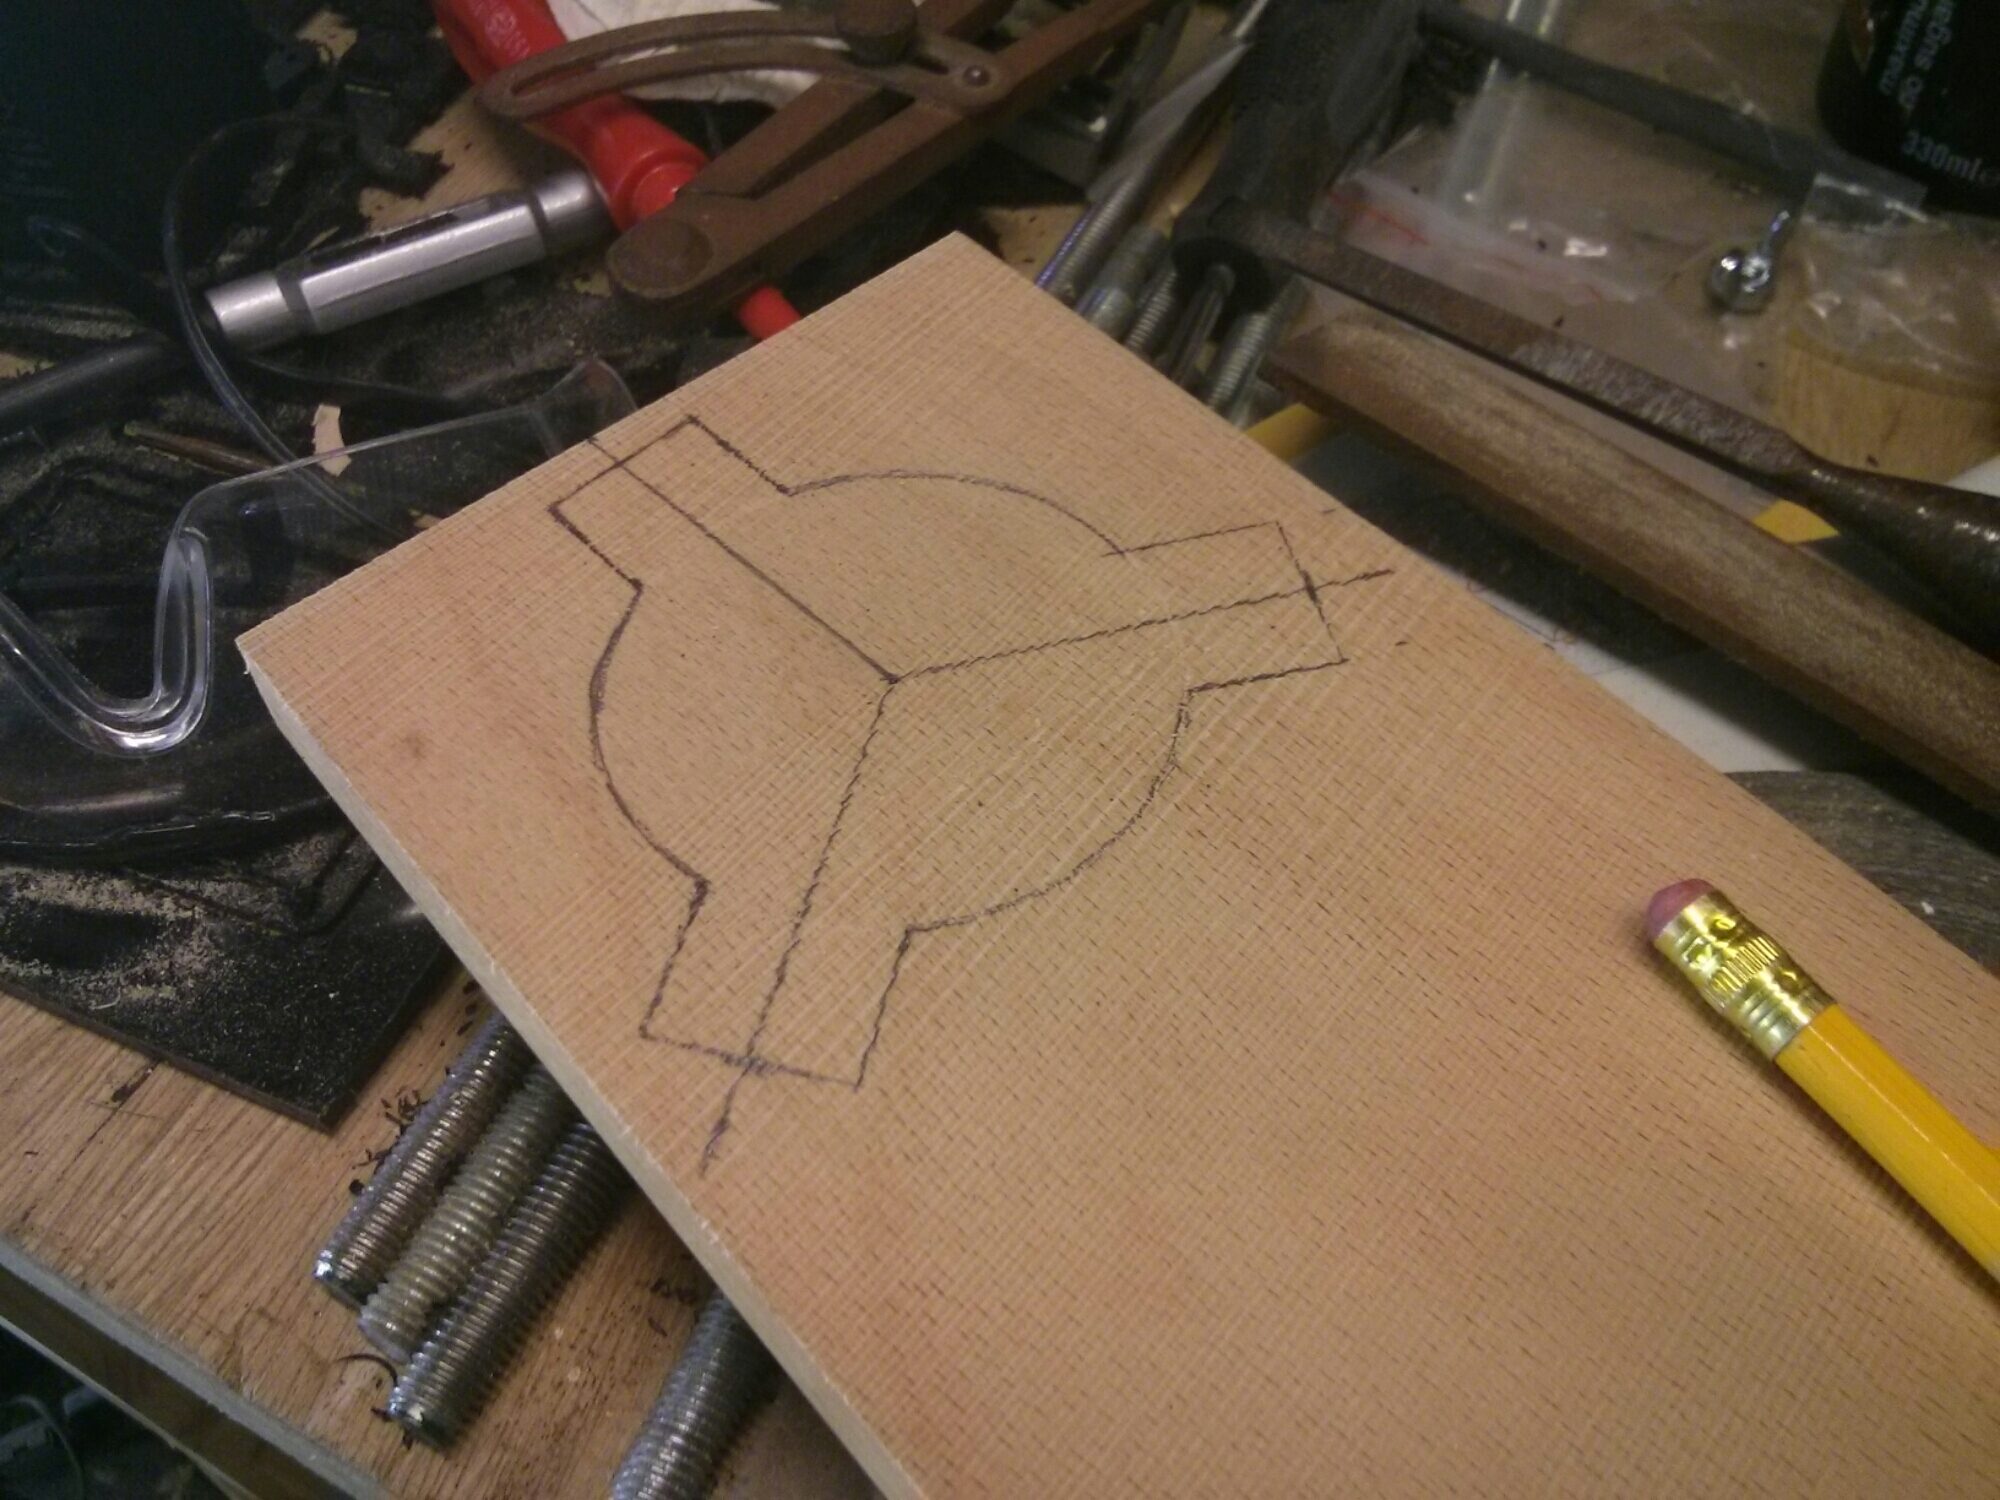
A tripod is a fairly simple thing. a collection of m6 bolts with wing nuts, a little time on the bandsaw and some holes drilled on the pillar drill and presto.
The only real measurements I made in the construction was to get the 120degree spacing for the 3 legs around the central circle.
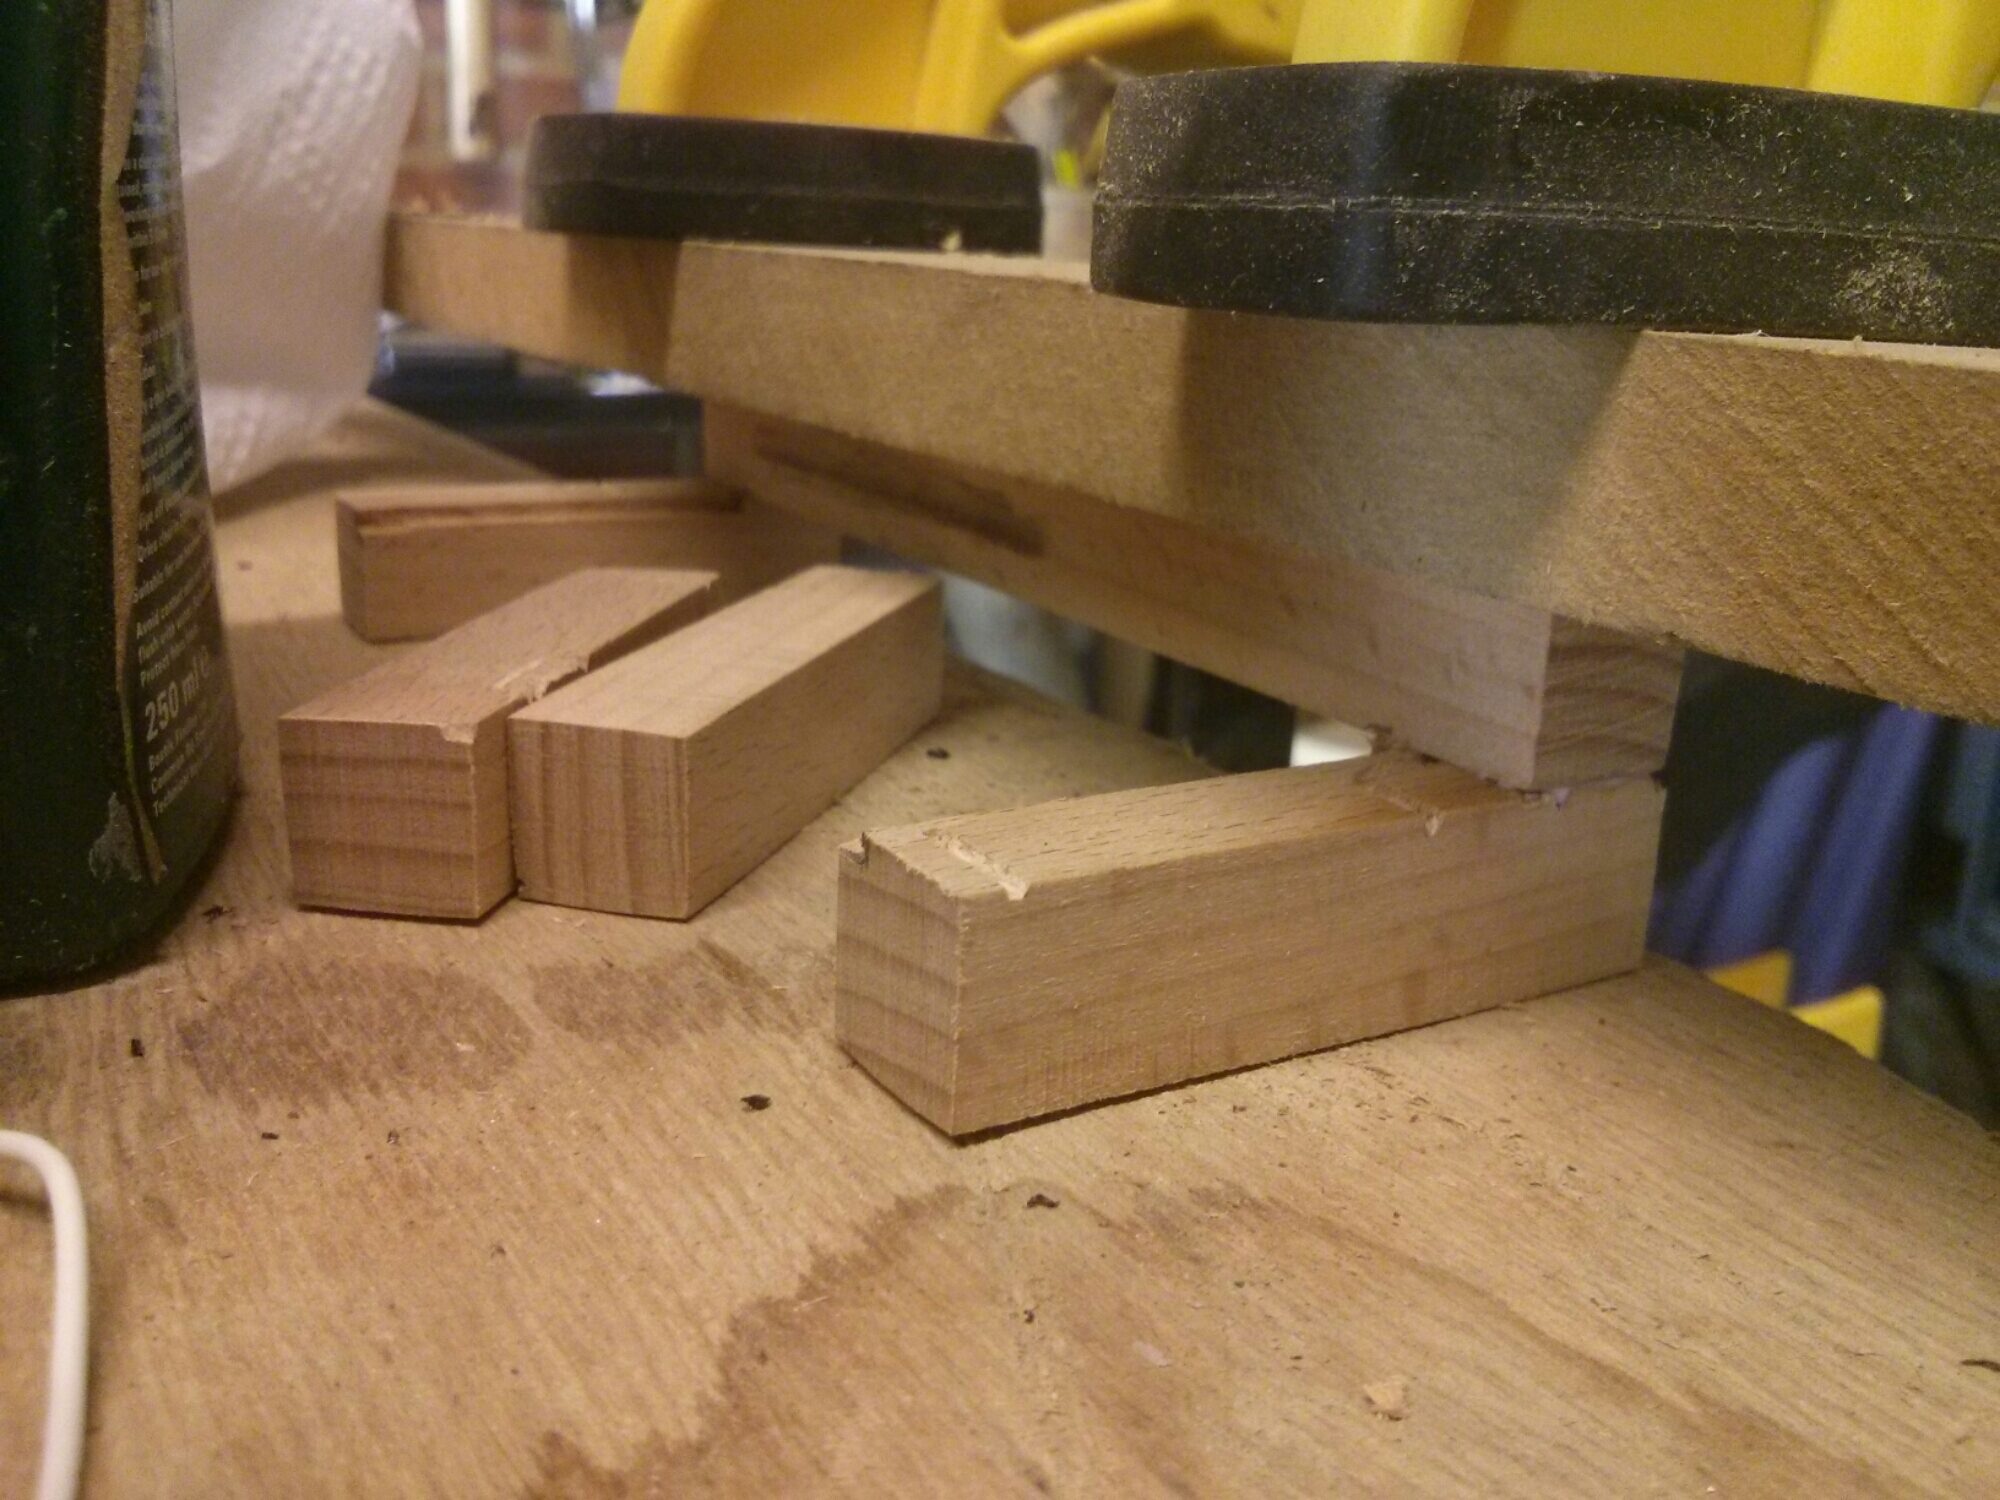
Everything else I just did by eye for what looked about right. Mostly I was just working inside the scrap of cherry wood that I pulled off the pile to work with.

The tricky part was the ‘cage’ for the phone. I have a hard aluminium case for my nexus 4 which I stopped using because it degraded the signal and bluetooth performance. However it is perfect for this usage, I could build a structure that the case slides in and out of and then know I just need to drop the phone into the case and everything would fit nicely.
In this case I went with a ‘spine’ of wood that supports the buttom of the case, into which I cut a recess for the cases hinge to fit into. Then at either end I glued verticals that just hold the front and back of the case at each end. The spine piece was cut to the same width as the case, so everything just fits. The only tweaking required was to cut some recesses for the little dimpled feet of the case to fit into. This just made the whole fit more snug.
The only problem is that the contact area for the glue is not very large, I don’t think this would survive any real lateral stresses, however in normal usage it should not experience any real lateral force so hopefully it will be ok.
The spine of the phone cage just slots into the top part of the pivot mechanism and it holds pretty tight without any need for glue. With the phone in place it is easily able to hold it firmly in place and doesn’t suffer any wobble. To be on the safe side I have my phone camera configured on a 1 second delay, so if it does flex at all when I touch the phone to take a picture, it has time to settle before it actually takes an image.


For the light box the idea was to use a cardboard box, drape some a3 paper from the back to provide my backdrop with smooth curve to avoid any sharp corners/shadows in the backdrop. Then to cut holes in the sides and the top, line with tissue paper to diffuse light, then just set lamps around the edges to illuminate.
I thought the trickiest part here would be sourcing some plain white tissue paper. I wasn’t really sure where I would find that supplied it, but as it turns out the answer is W.H.Smiths, which had white tissue paper in pretty much the first place I looked.
With a box, some regular white paper, some white tissue paper and some cellotape. I set to work and quickly constructed a little light box.
Here are the resulting images. I didn’t really have any good lamps to provide light sources, so I relied on a little post-editing on my phone to get the final result. But all in all when compared to the original set of pictures I took of the same item I am pleased with the results.


